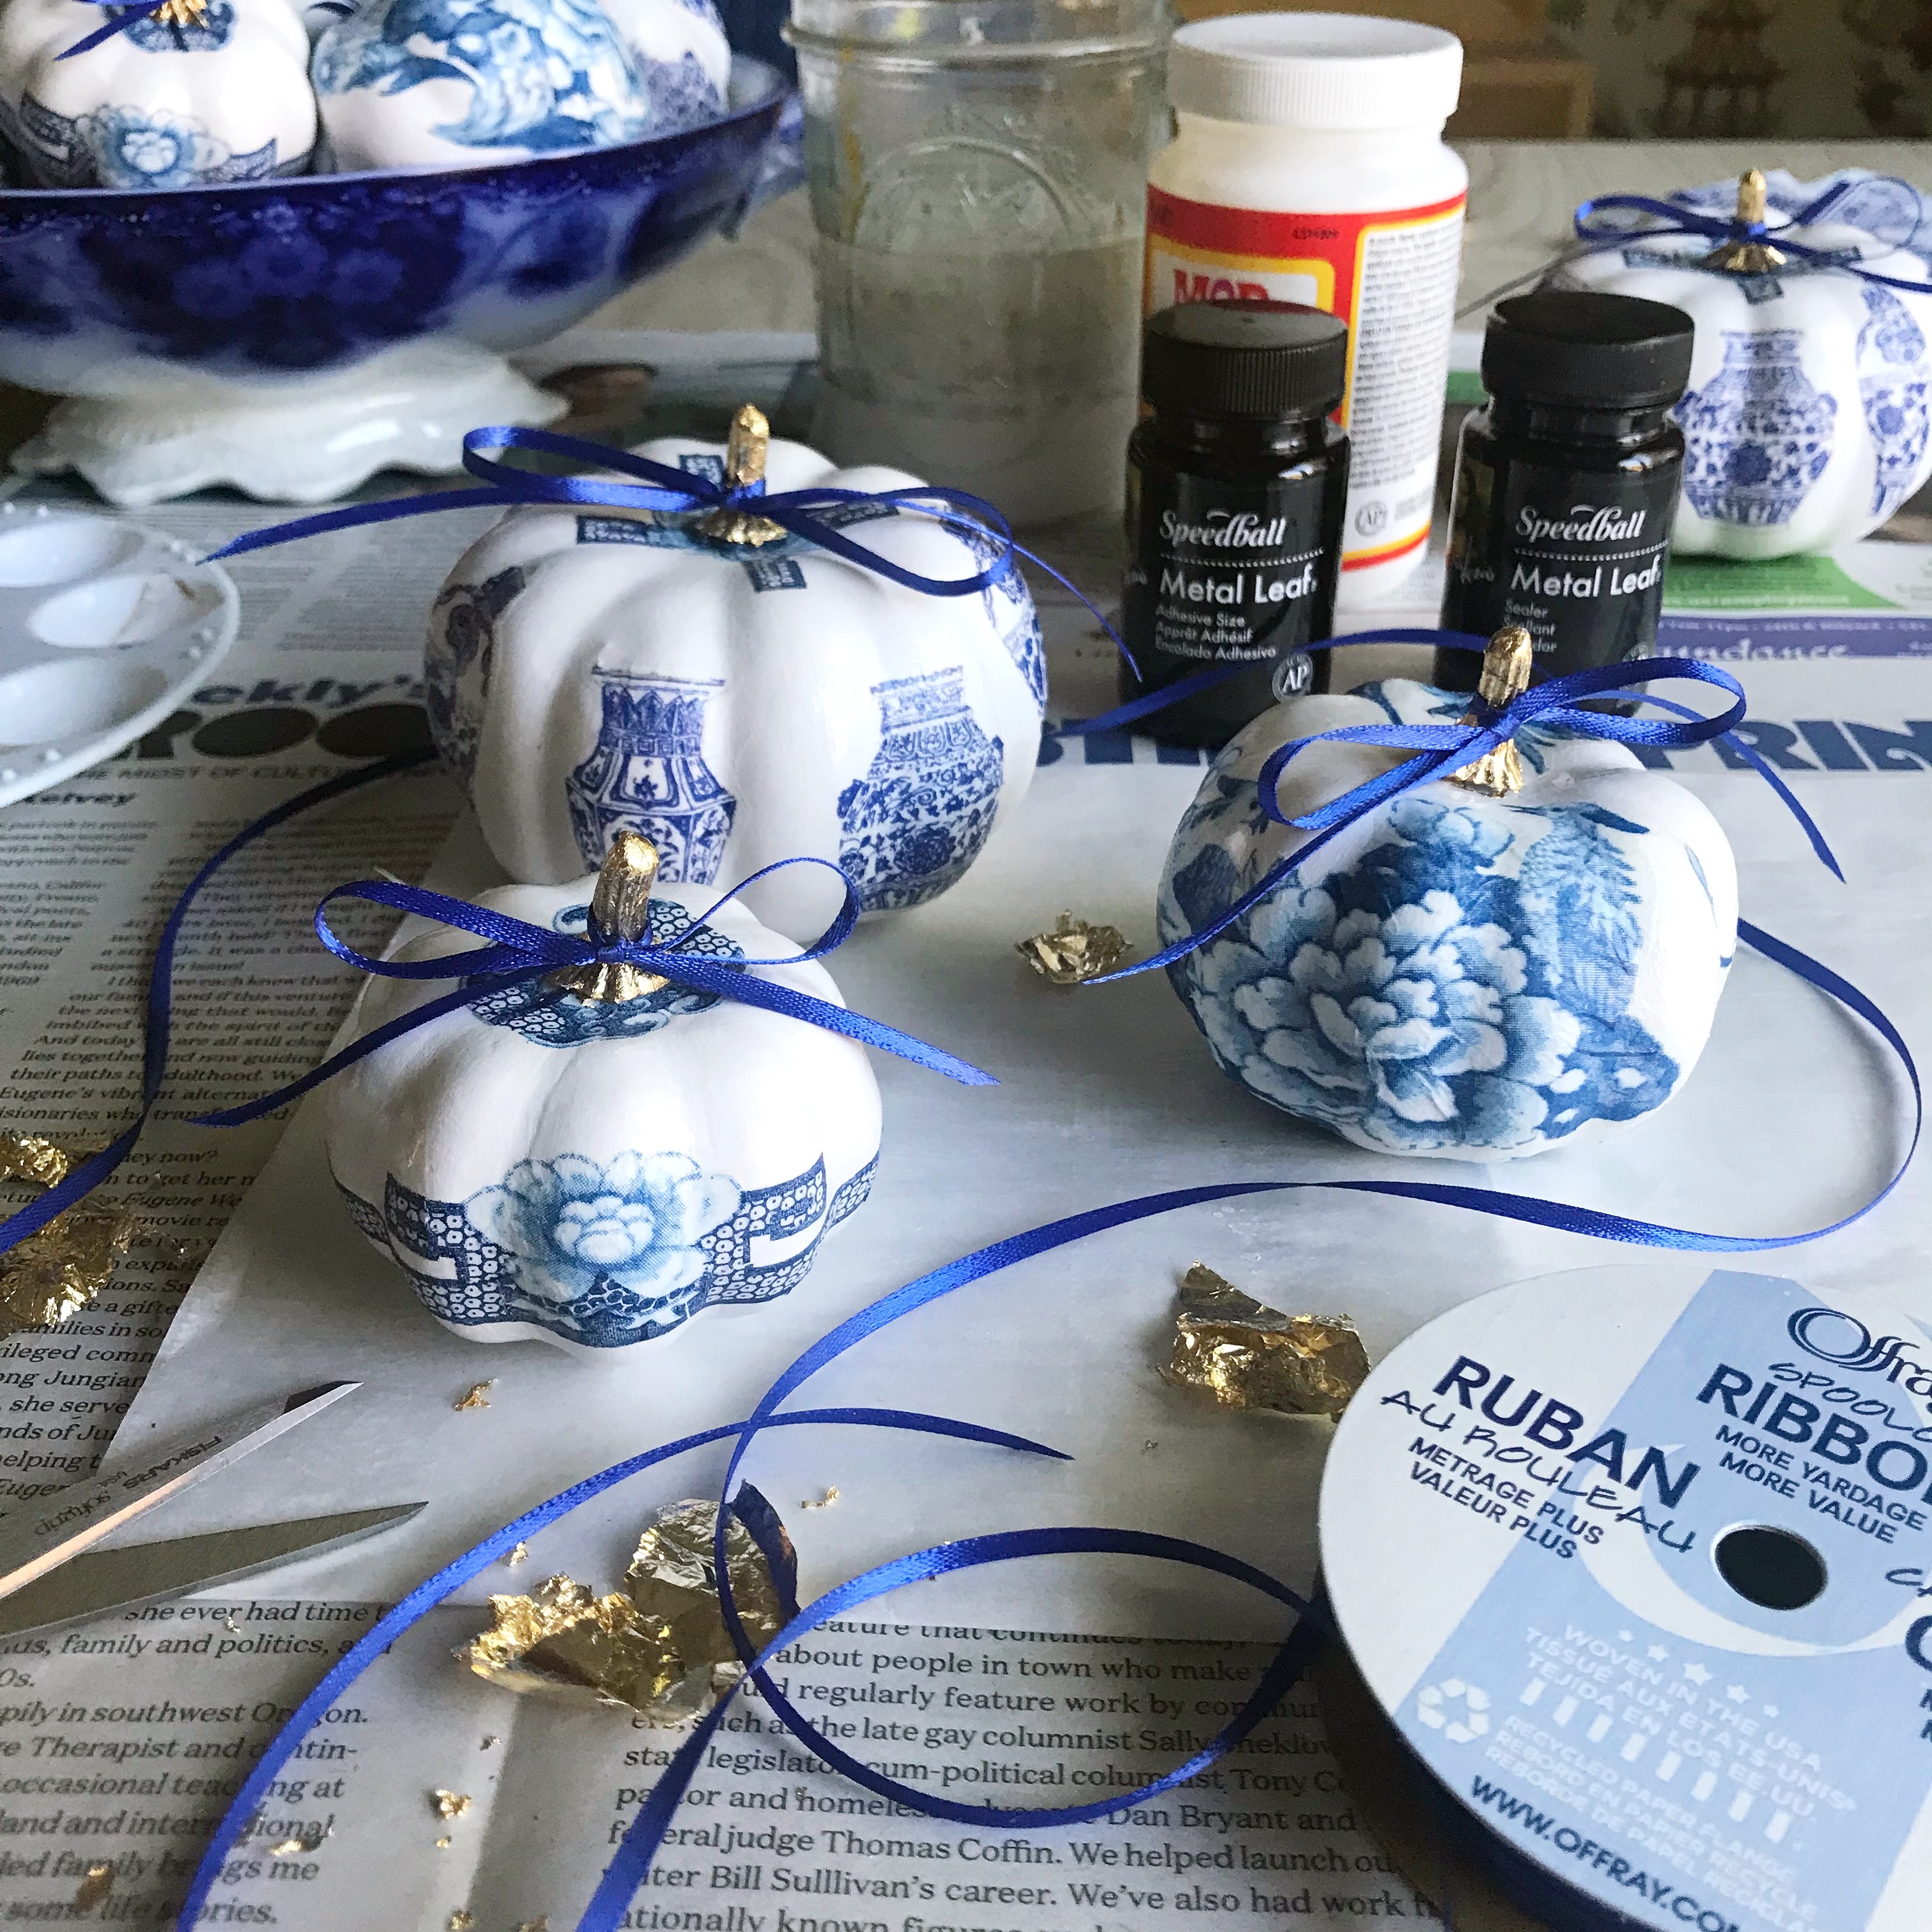
Hello friends! October is here and it's time to get crafty with some faux mini pumpkins! As one who enjoys making scrapbook pages, decoupage is another fun way to be creative with paper. And while I'm new to this wildly popular activity, despite some challenges, I managed to come up with the three designs shown.
It's actually very easy, just tedious and messy.
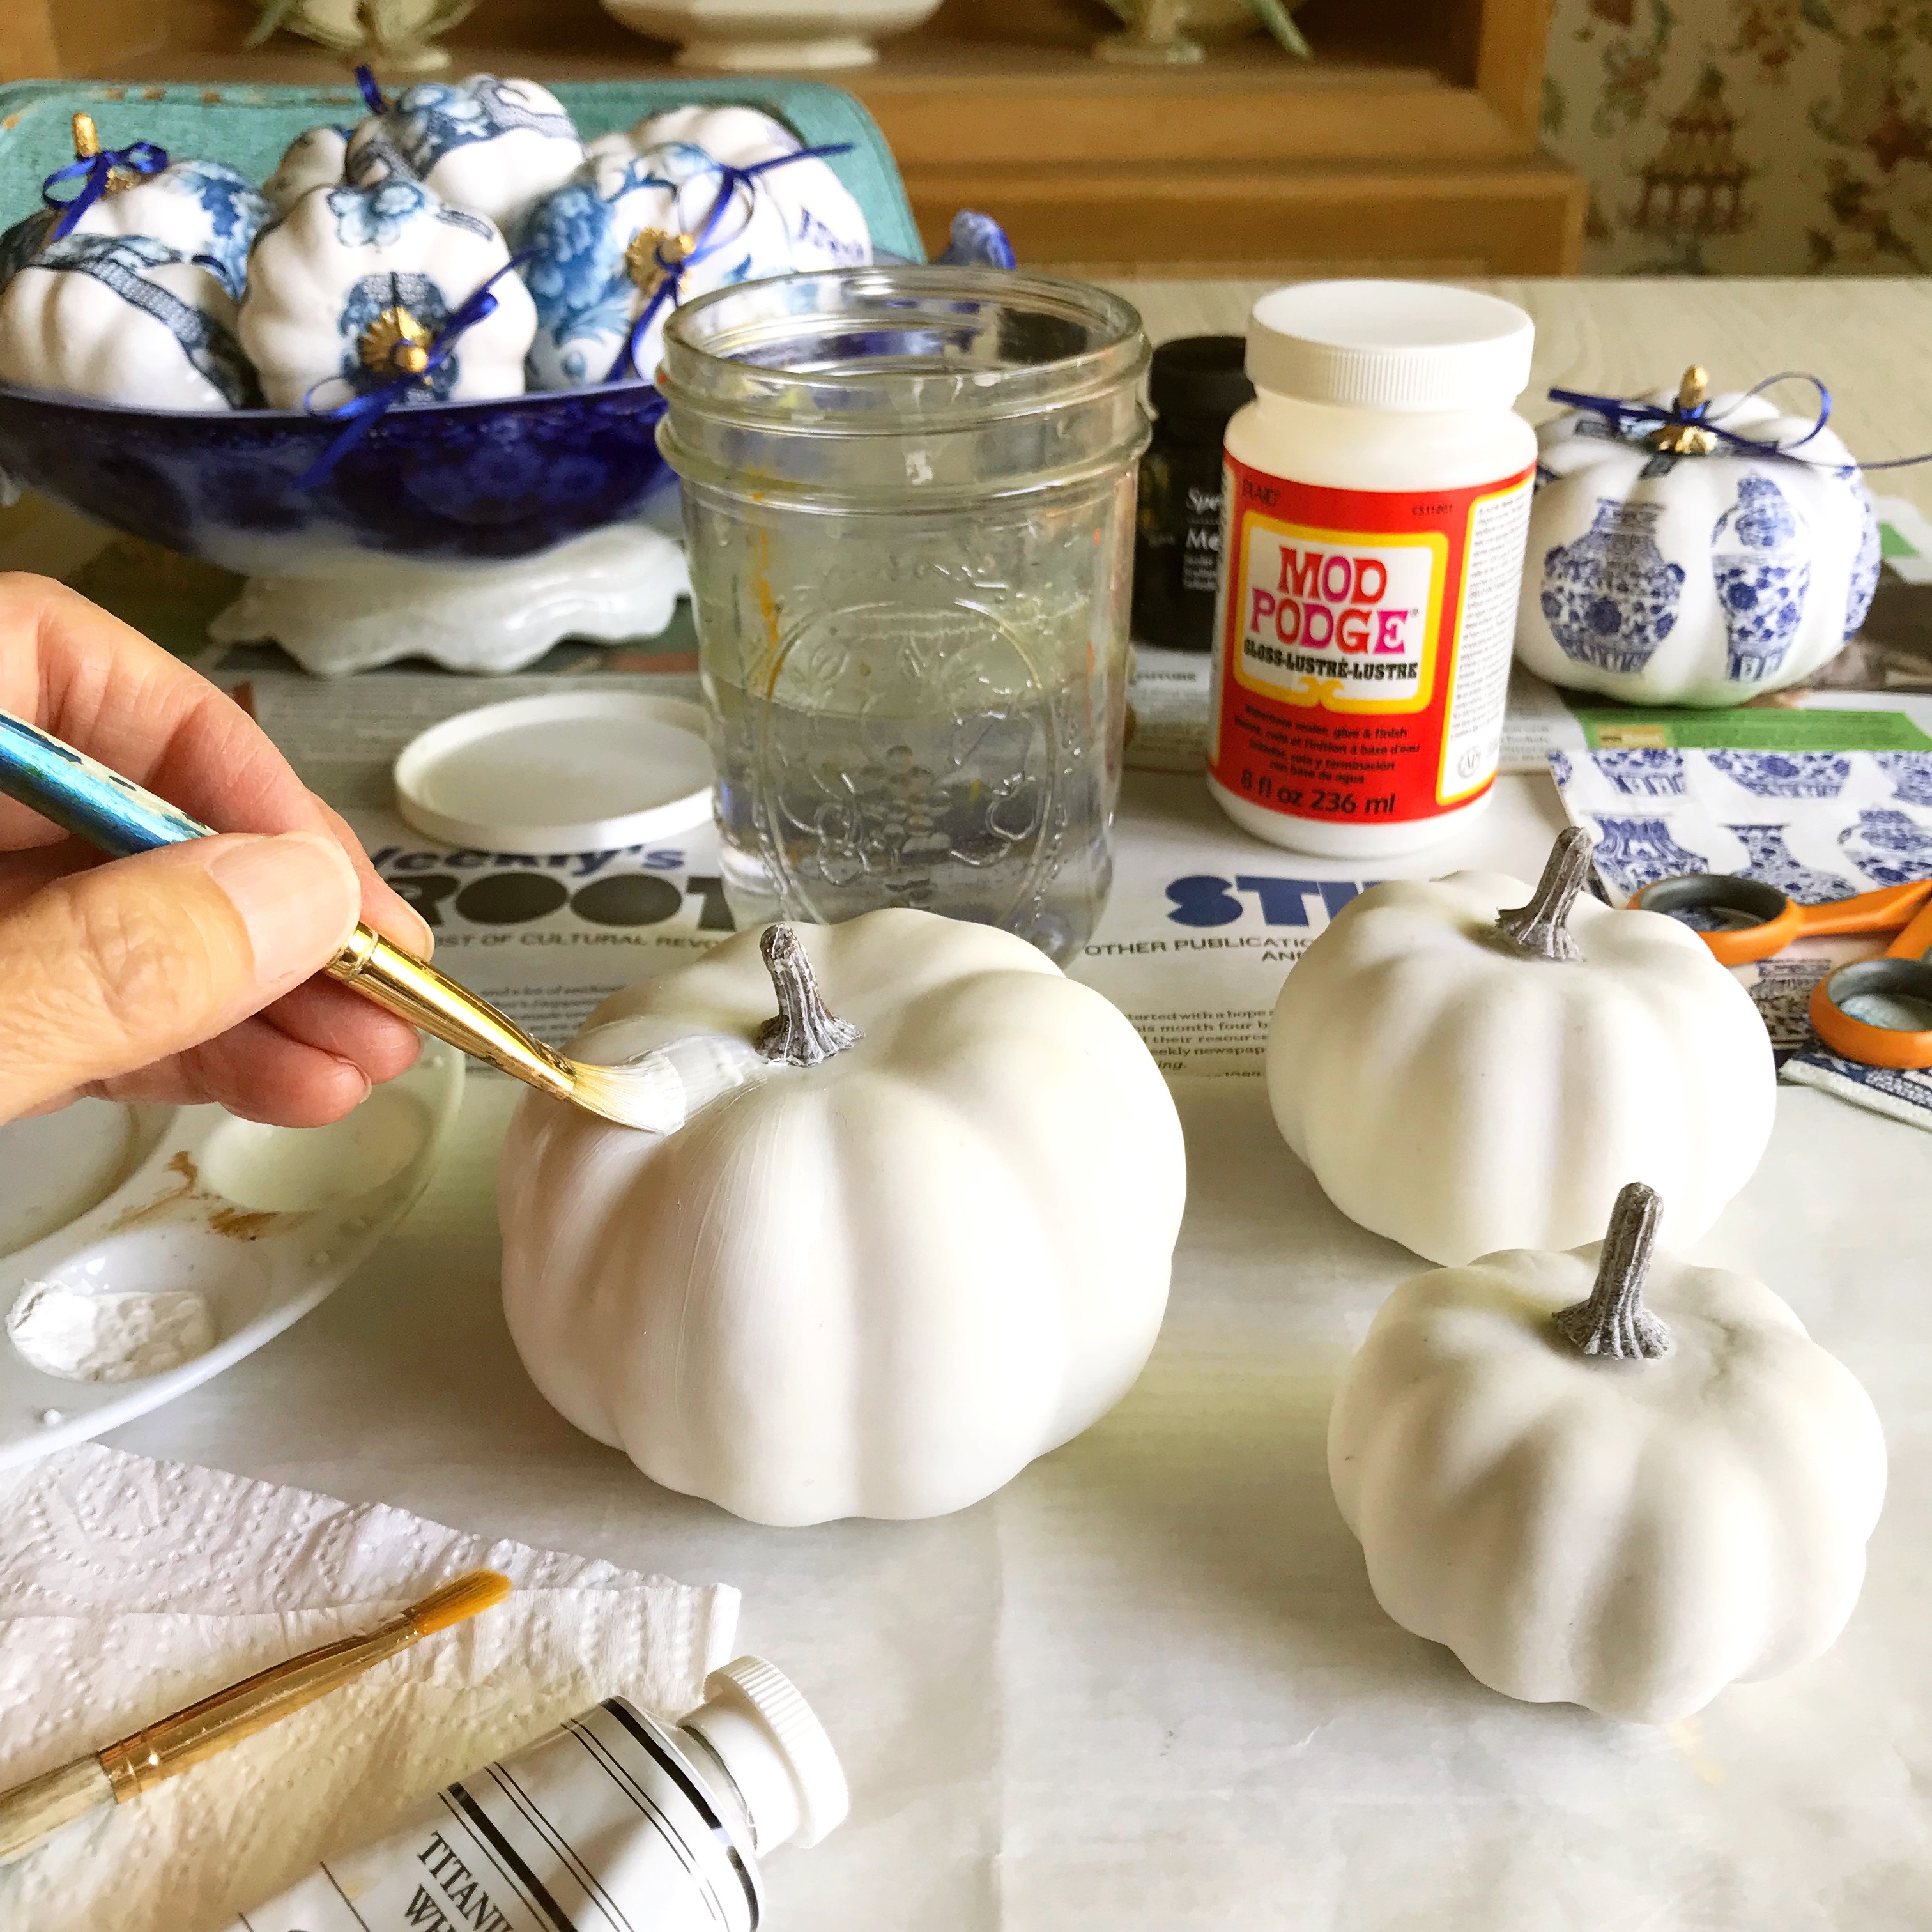
So let's gather our supplies:
You will need:
- faux pumpkins in size(s) of your choice (I used this set)
- white acrylic paint
- paper napkins of your choice (ginger jars, birds & florals)
- paint brushes and paper towel for blotting
- scissors
- Mod Podge
- gold leaf kit (optional)
- ribbon (optional)
- newspapers and parchment for your work surface
Step 1 - Apply white acrylic paint to the surface of each of your pumpkins. The paint will provide 'grip' for your napkins to adhere to. I used white because my pumpkins have a lot of negative space showing. You might consider the colors in your napkins as to what your choice of paint color would be.
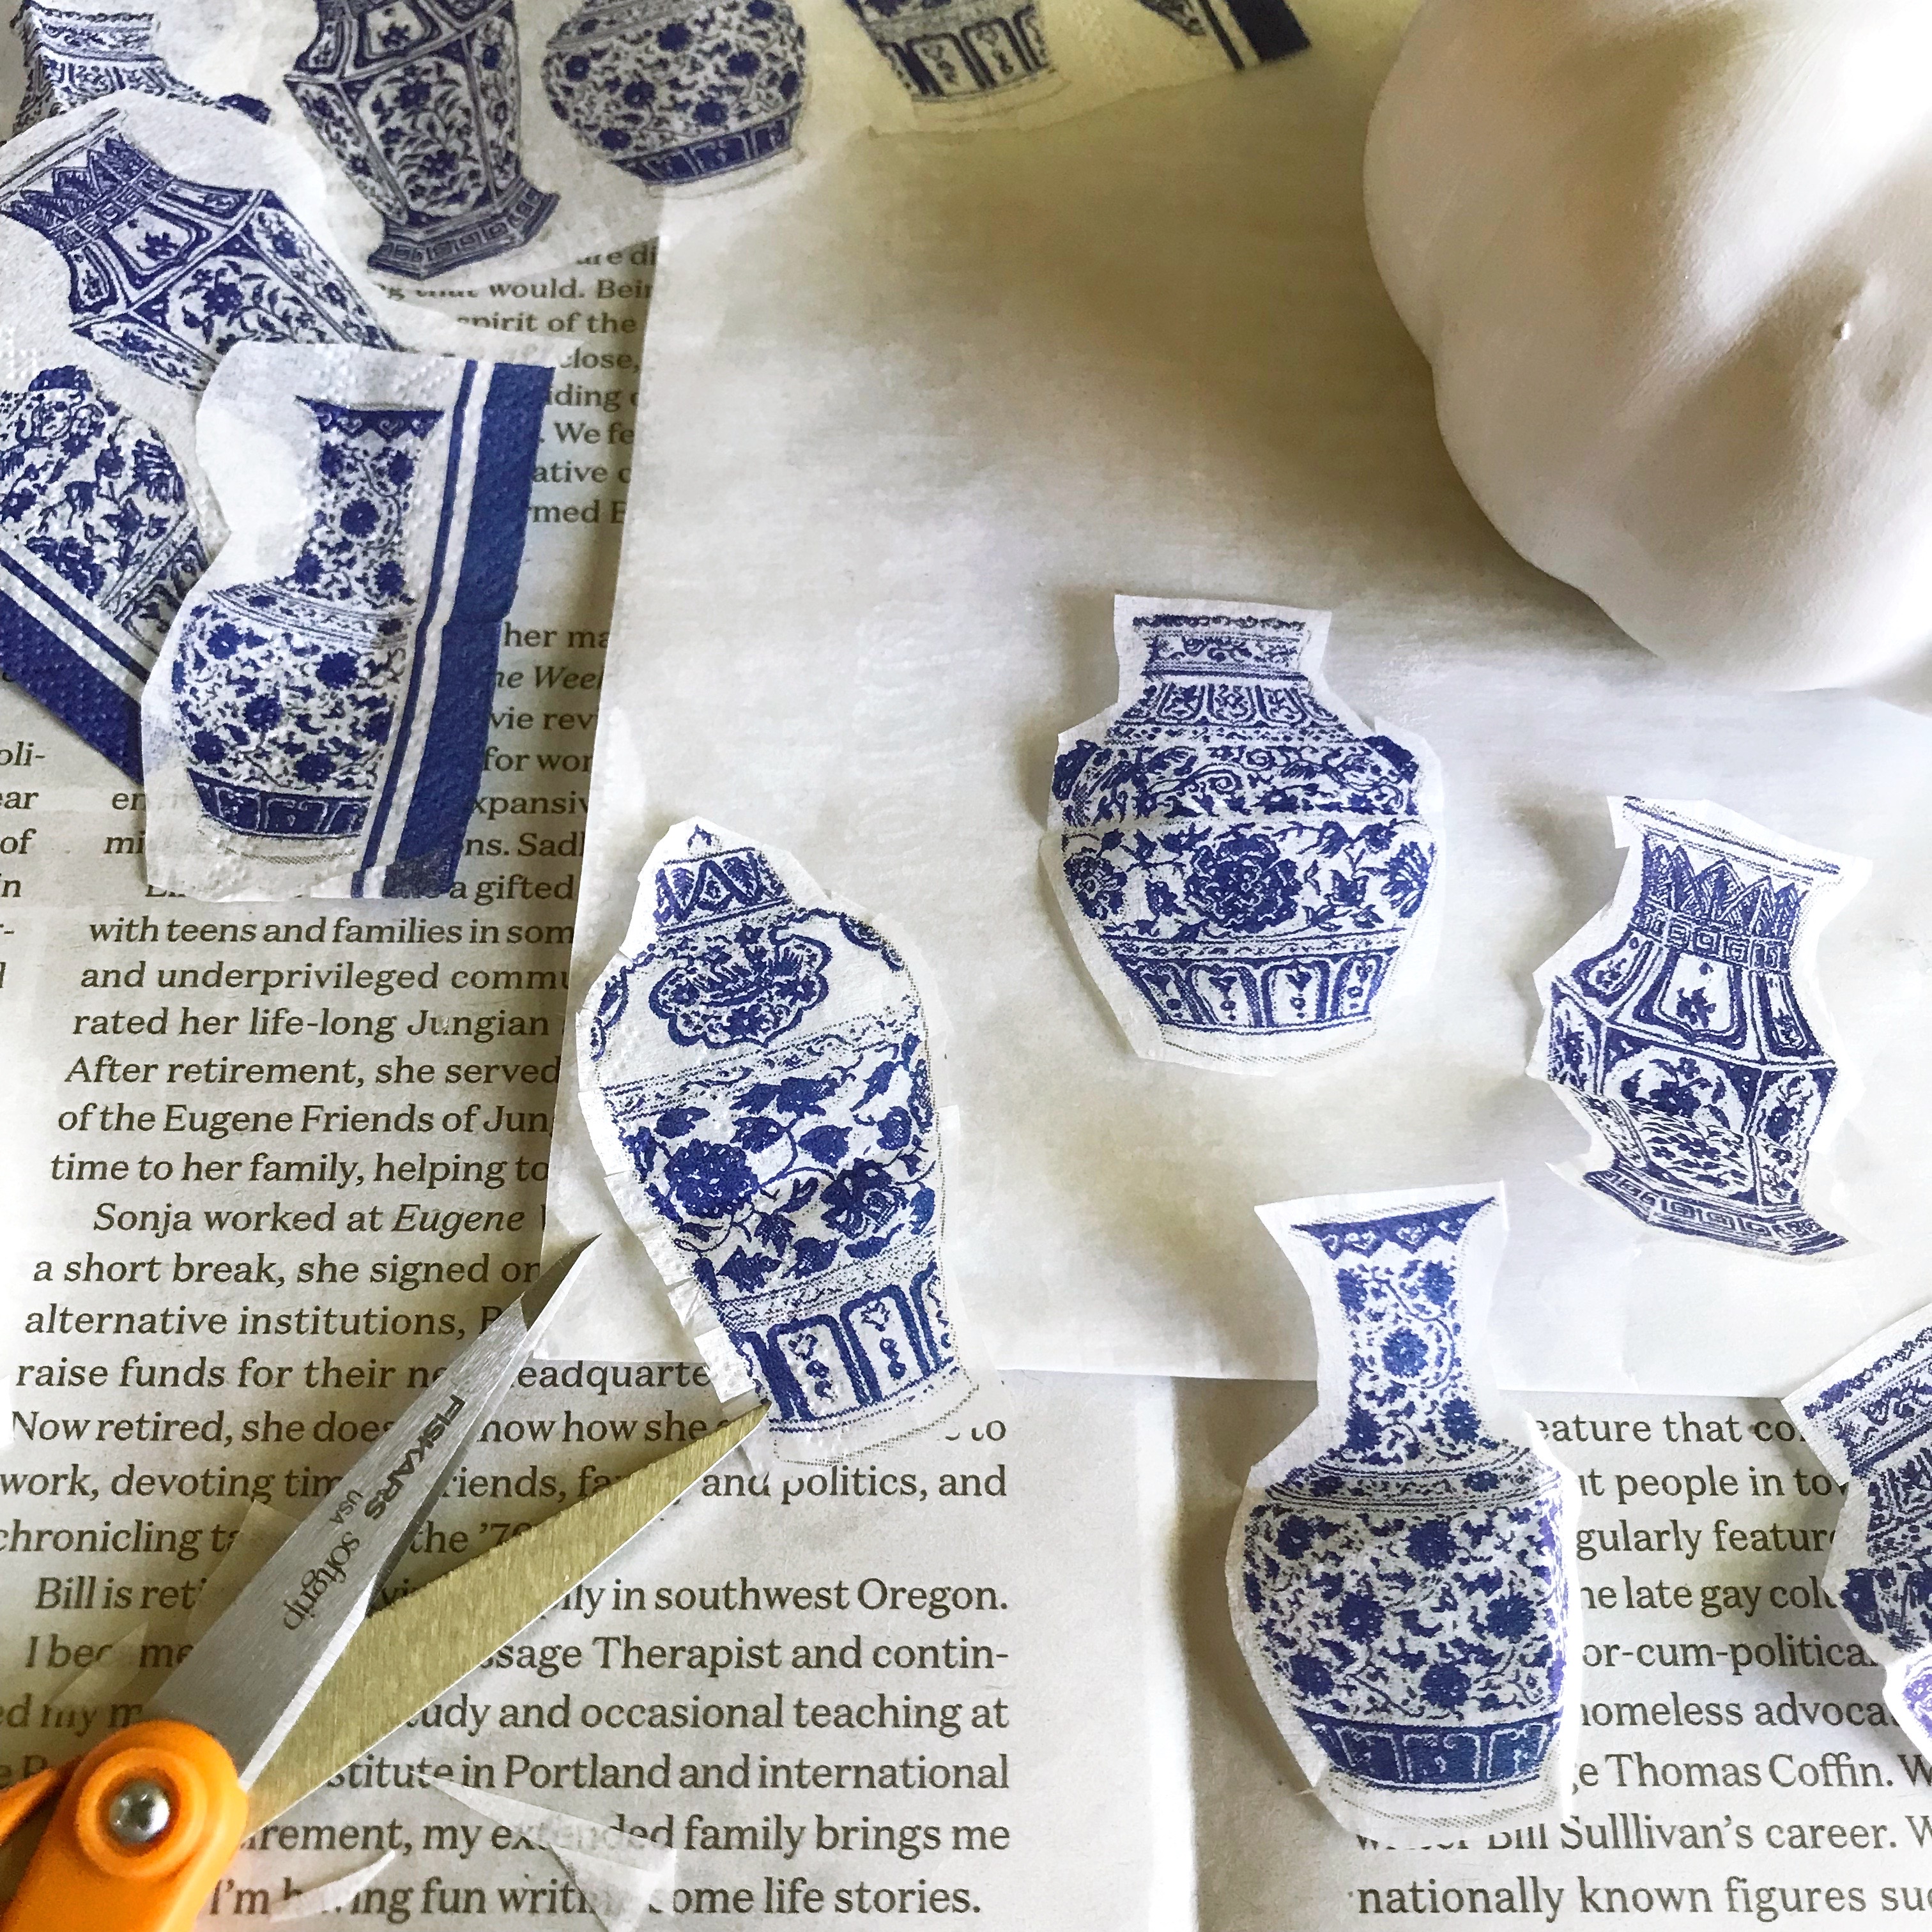
Step 2 - Separate the printed layer of your napkin from the other one or two layers. You only need the printed layer. It will be very thin.
Step 3 - Fussy cut your desired elements from your napkin. This is not an exact process - you don't have to cut on the lines and your cuts do not have to be perfect.
It's a good idea to cut little snips around the perimeter of your cut-out shape. It helps the image ease onto the round pumpkin better.
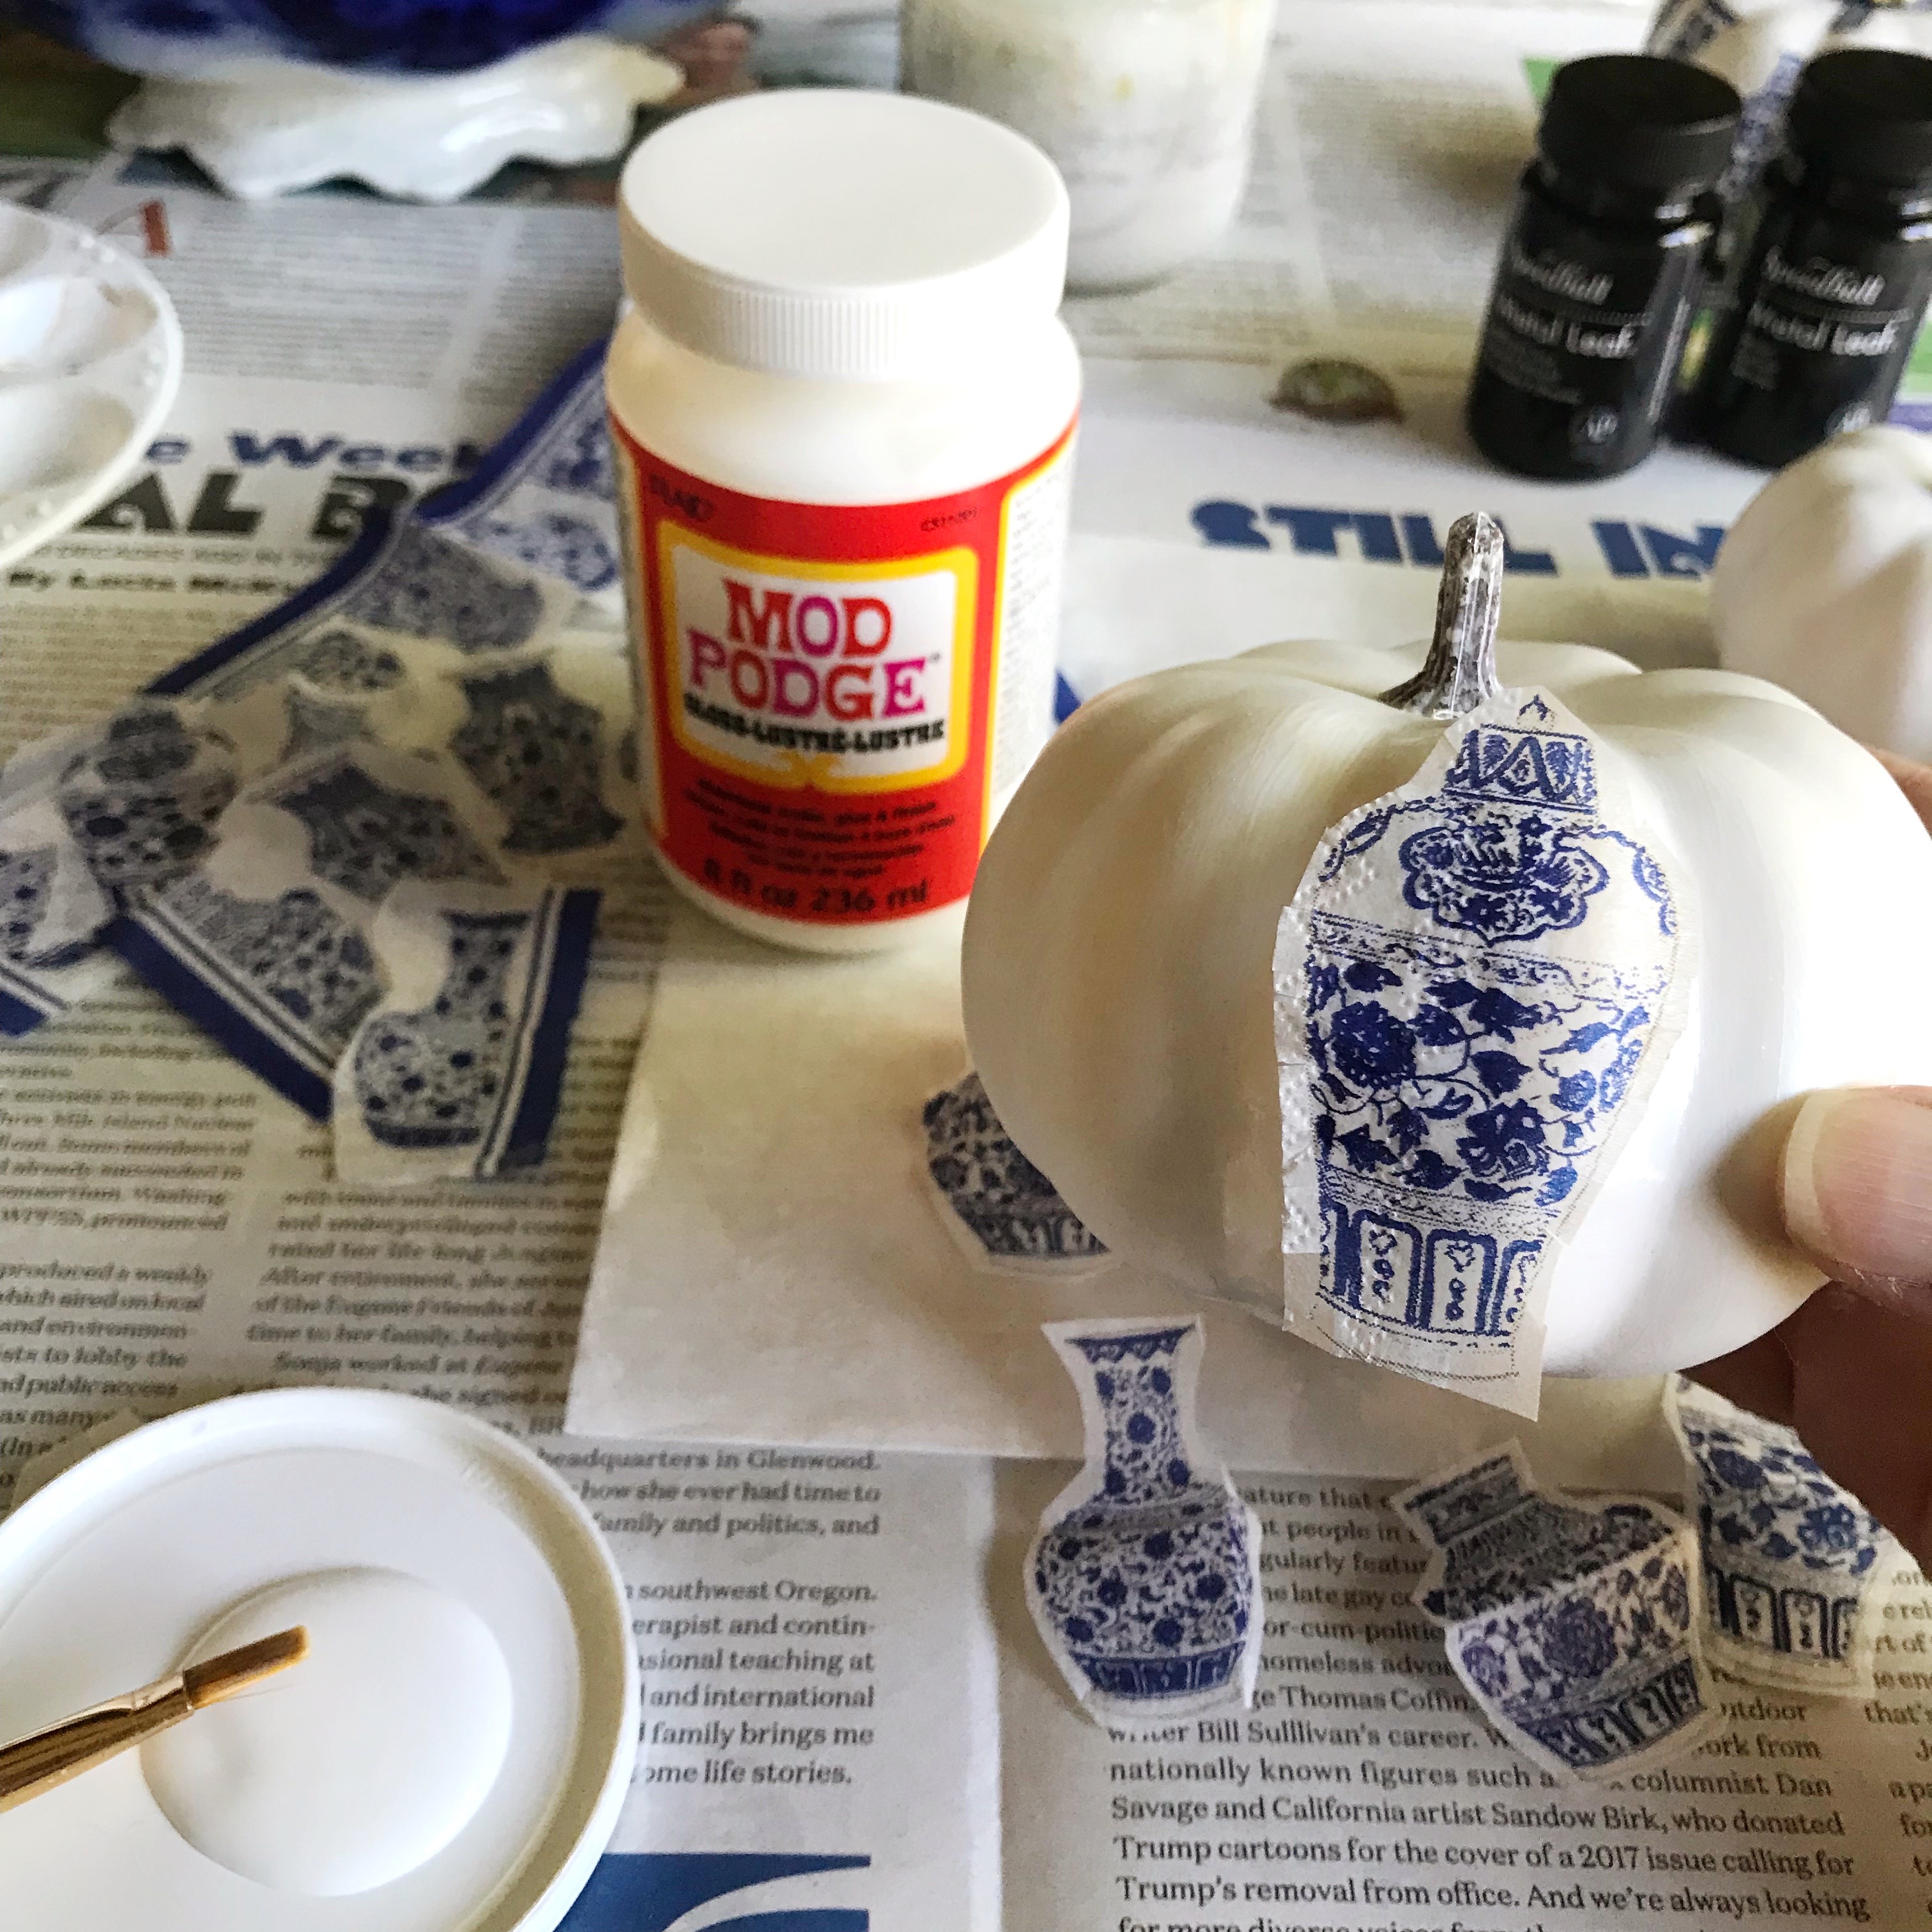
Step 4 - Apply a small amount of Mod Podge to your pumpkin in the area where you want to adhere your image. Lightly tack your image to the wet medium and adjust as needed.
Apply a thin coat of Mod Podge to the remaining areas behind your tacked image. Now you'll want to work quickly using a generous amount of Mod Podge on your brush to apply the medium over the top of your image using light pressure and working from the middle (where you tacked the image) outward. Keep your brush wet with the medium and gently 'push' the paper into place. Be careful because the more wet your paper becomes the easier it will tear. Don't worry about the wrinkles - they will take care of themselves. Once your image is adhered, use your brush to gently smooth the image to the surface. Again, make sure your brush is wet and use light strokes. Repeat for the remainder of your cut-outs.
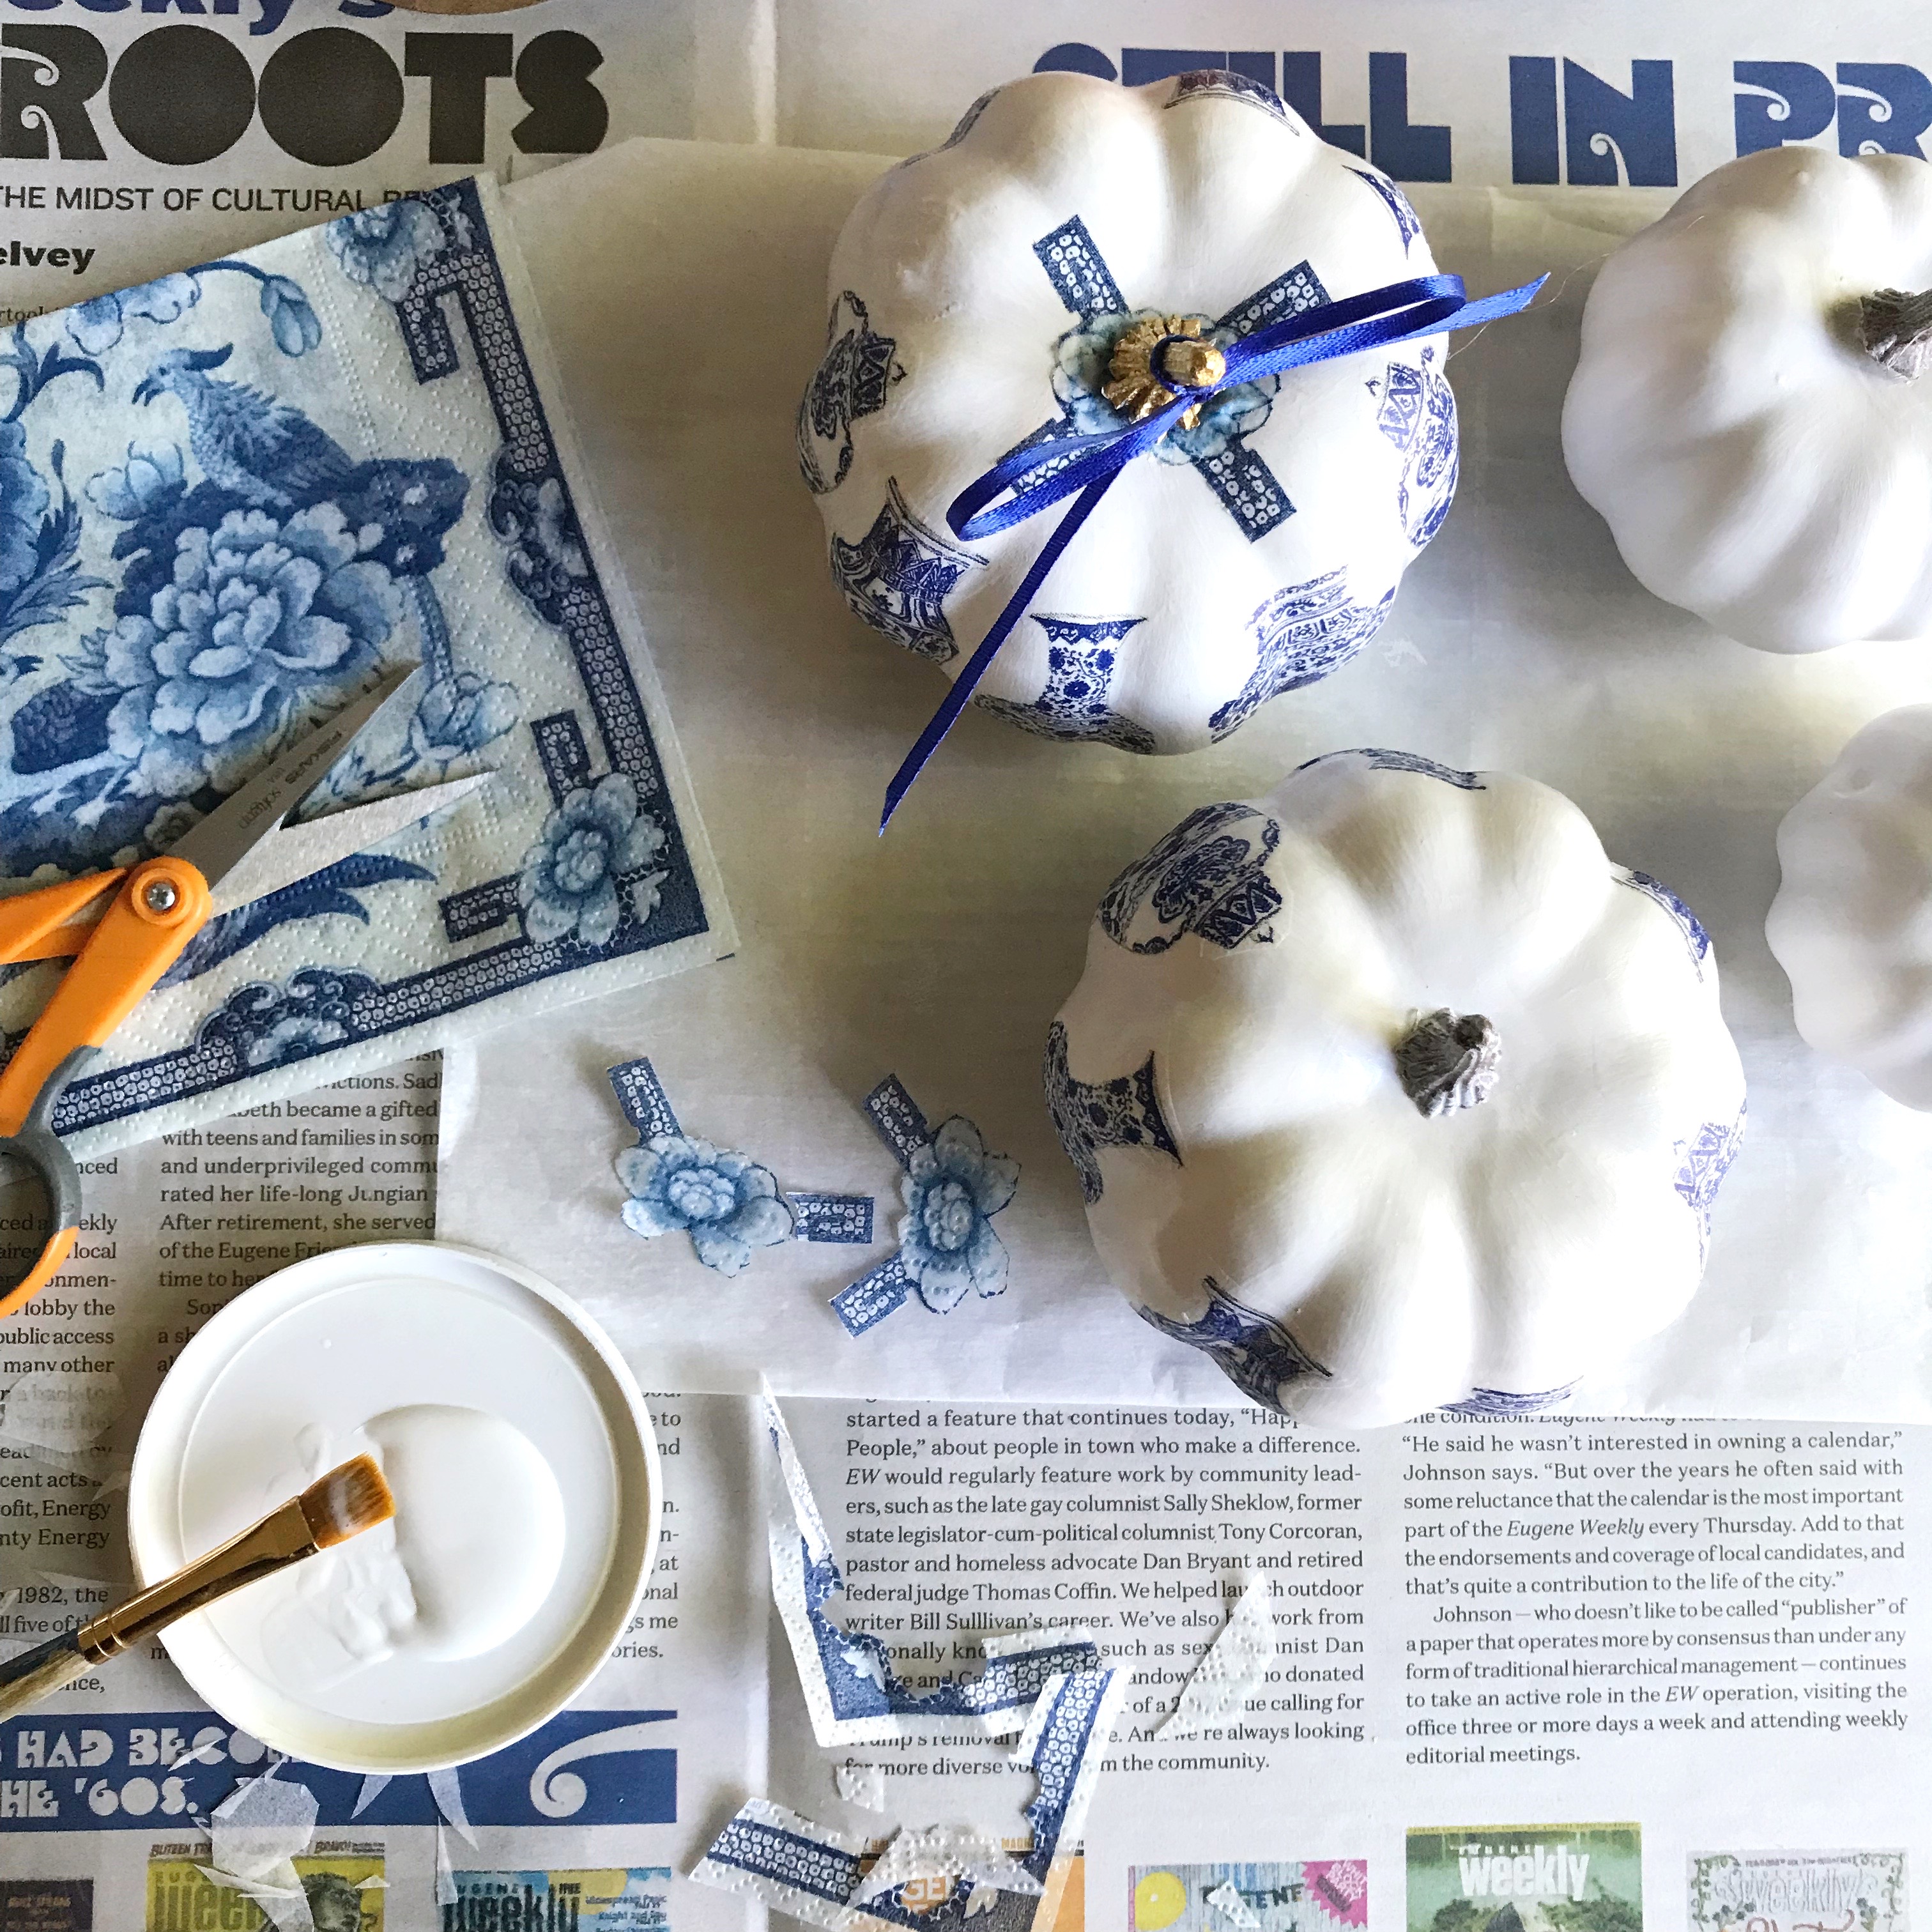
Here's how I cut my napkins to make the other two pumpkin designs:
And here are a couple of ideas I had for embellishing the tops of two of the pumpkins:
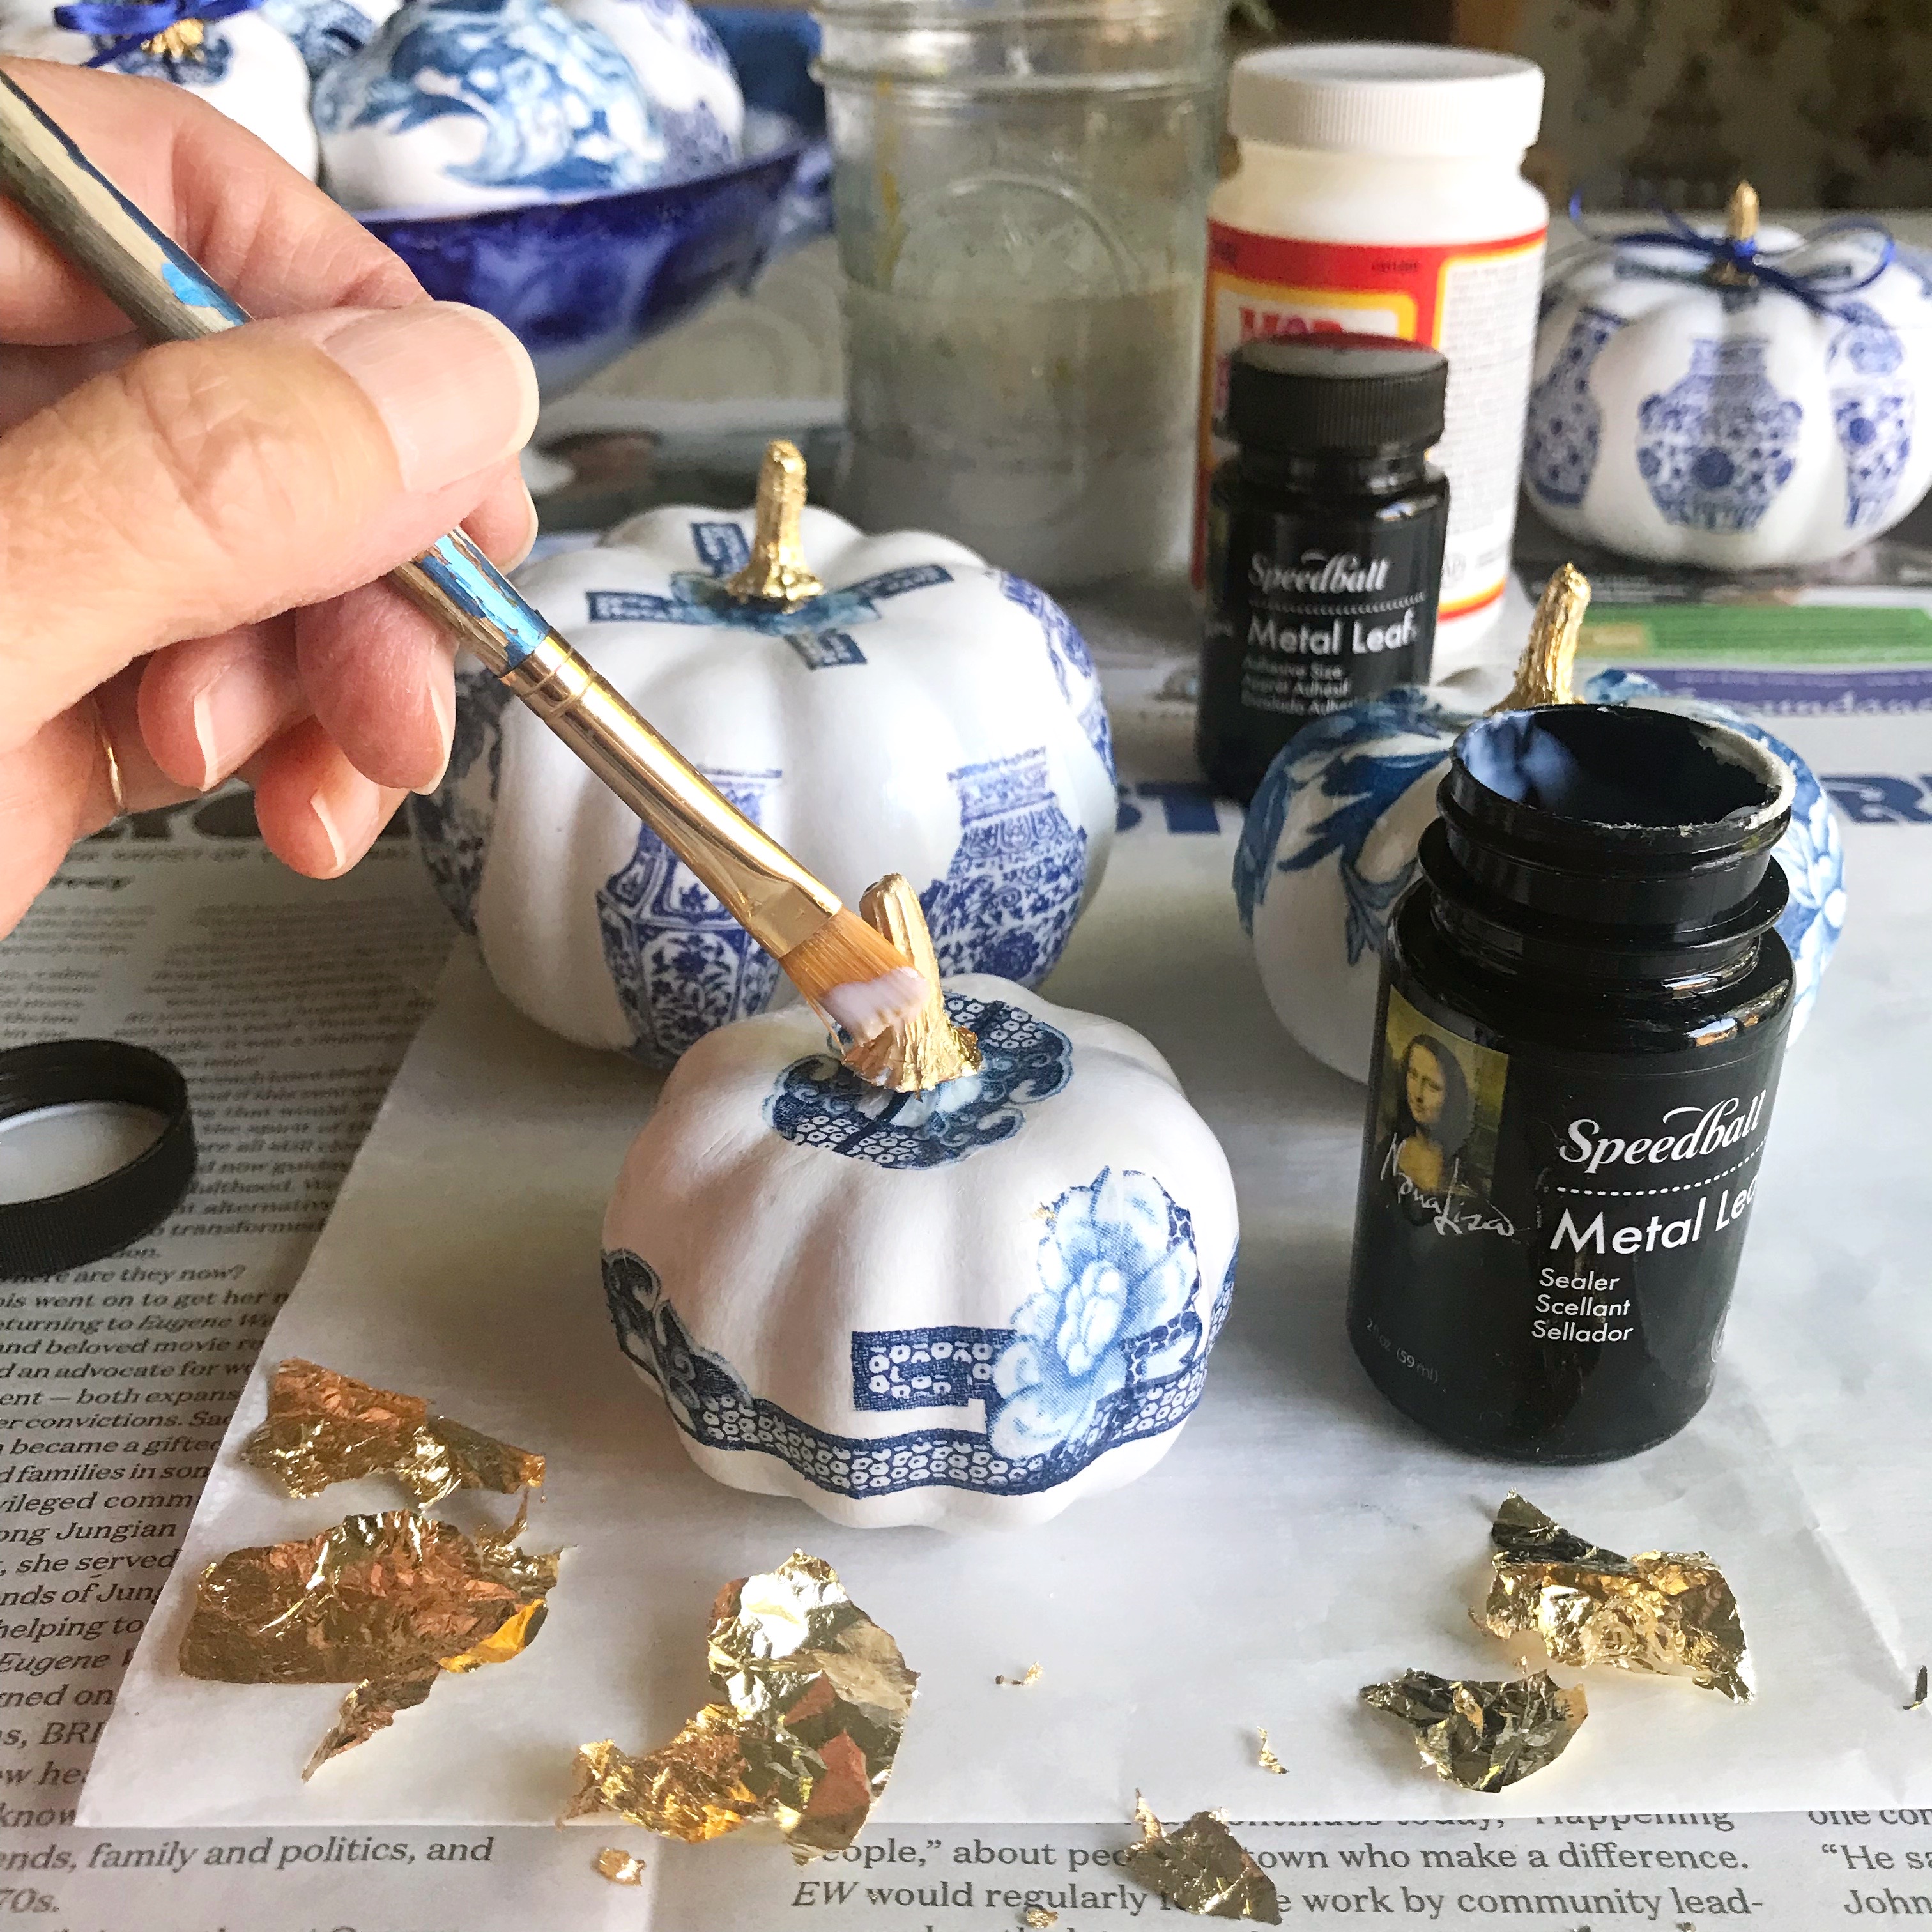
Step 5 - The last step is applying the gold leaf to the stems of the pumpkins. The gold leaf kit has three parts - the adhesive 'size', the metal leaf (thin sheets of metal) and the sealer. (Tip: pull the stems of your pumpkins up about 1/4" so there is a gap - this will make applying the gold leaf easier.) First, apply the adhesive size with a paint brush. The size is very watery so use caution when dipping your brush into it. Be sure your brush goes into the crevices of the pumpkin stem. Let the size dry to a tacky consistency.
After the size becomes tacky, cut a piece of the gold leaf. It should be larger than the surface area that you want to cover. Hold the gold leaf up to your pumpkin stem and use a dry paintbrush to gently push the leaf onto the stem. When you see the leaf is adhered to the stem, gently work the leaf into the crevices with your brush.
Push the leaf with your brush so that it goes under the stem (see tip above). Gently work your way around the stem with your brush until the leaf is adhered to all the tacky areas. As you cover the size, the still dry parts of the leaf will begin to fall away.
And lastly, apply the sealer to the stems with a paintbrush and let dry completely. Now you can push your stems back down onto the surface of your pumpkins.
Step 6 - Tie some ribbon to the stems and you are done! Now you have a beautiful hand made craft to enjoy every autumn season for years to come.
If you made it this far, thank you for looking! If you have any questions, please leave a comment.








No comments
Post a Comment