Sunday, May 29, 2022

James Waring Dances the Merz

hand cut vintage paper collage, vintage hand cut paper collage, character development in collage, atmosphere in collage, painted backgrounds in collage

Hello Friends!

It's been fun getting back into the groove of collage.

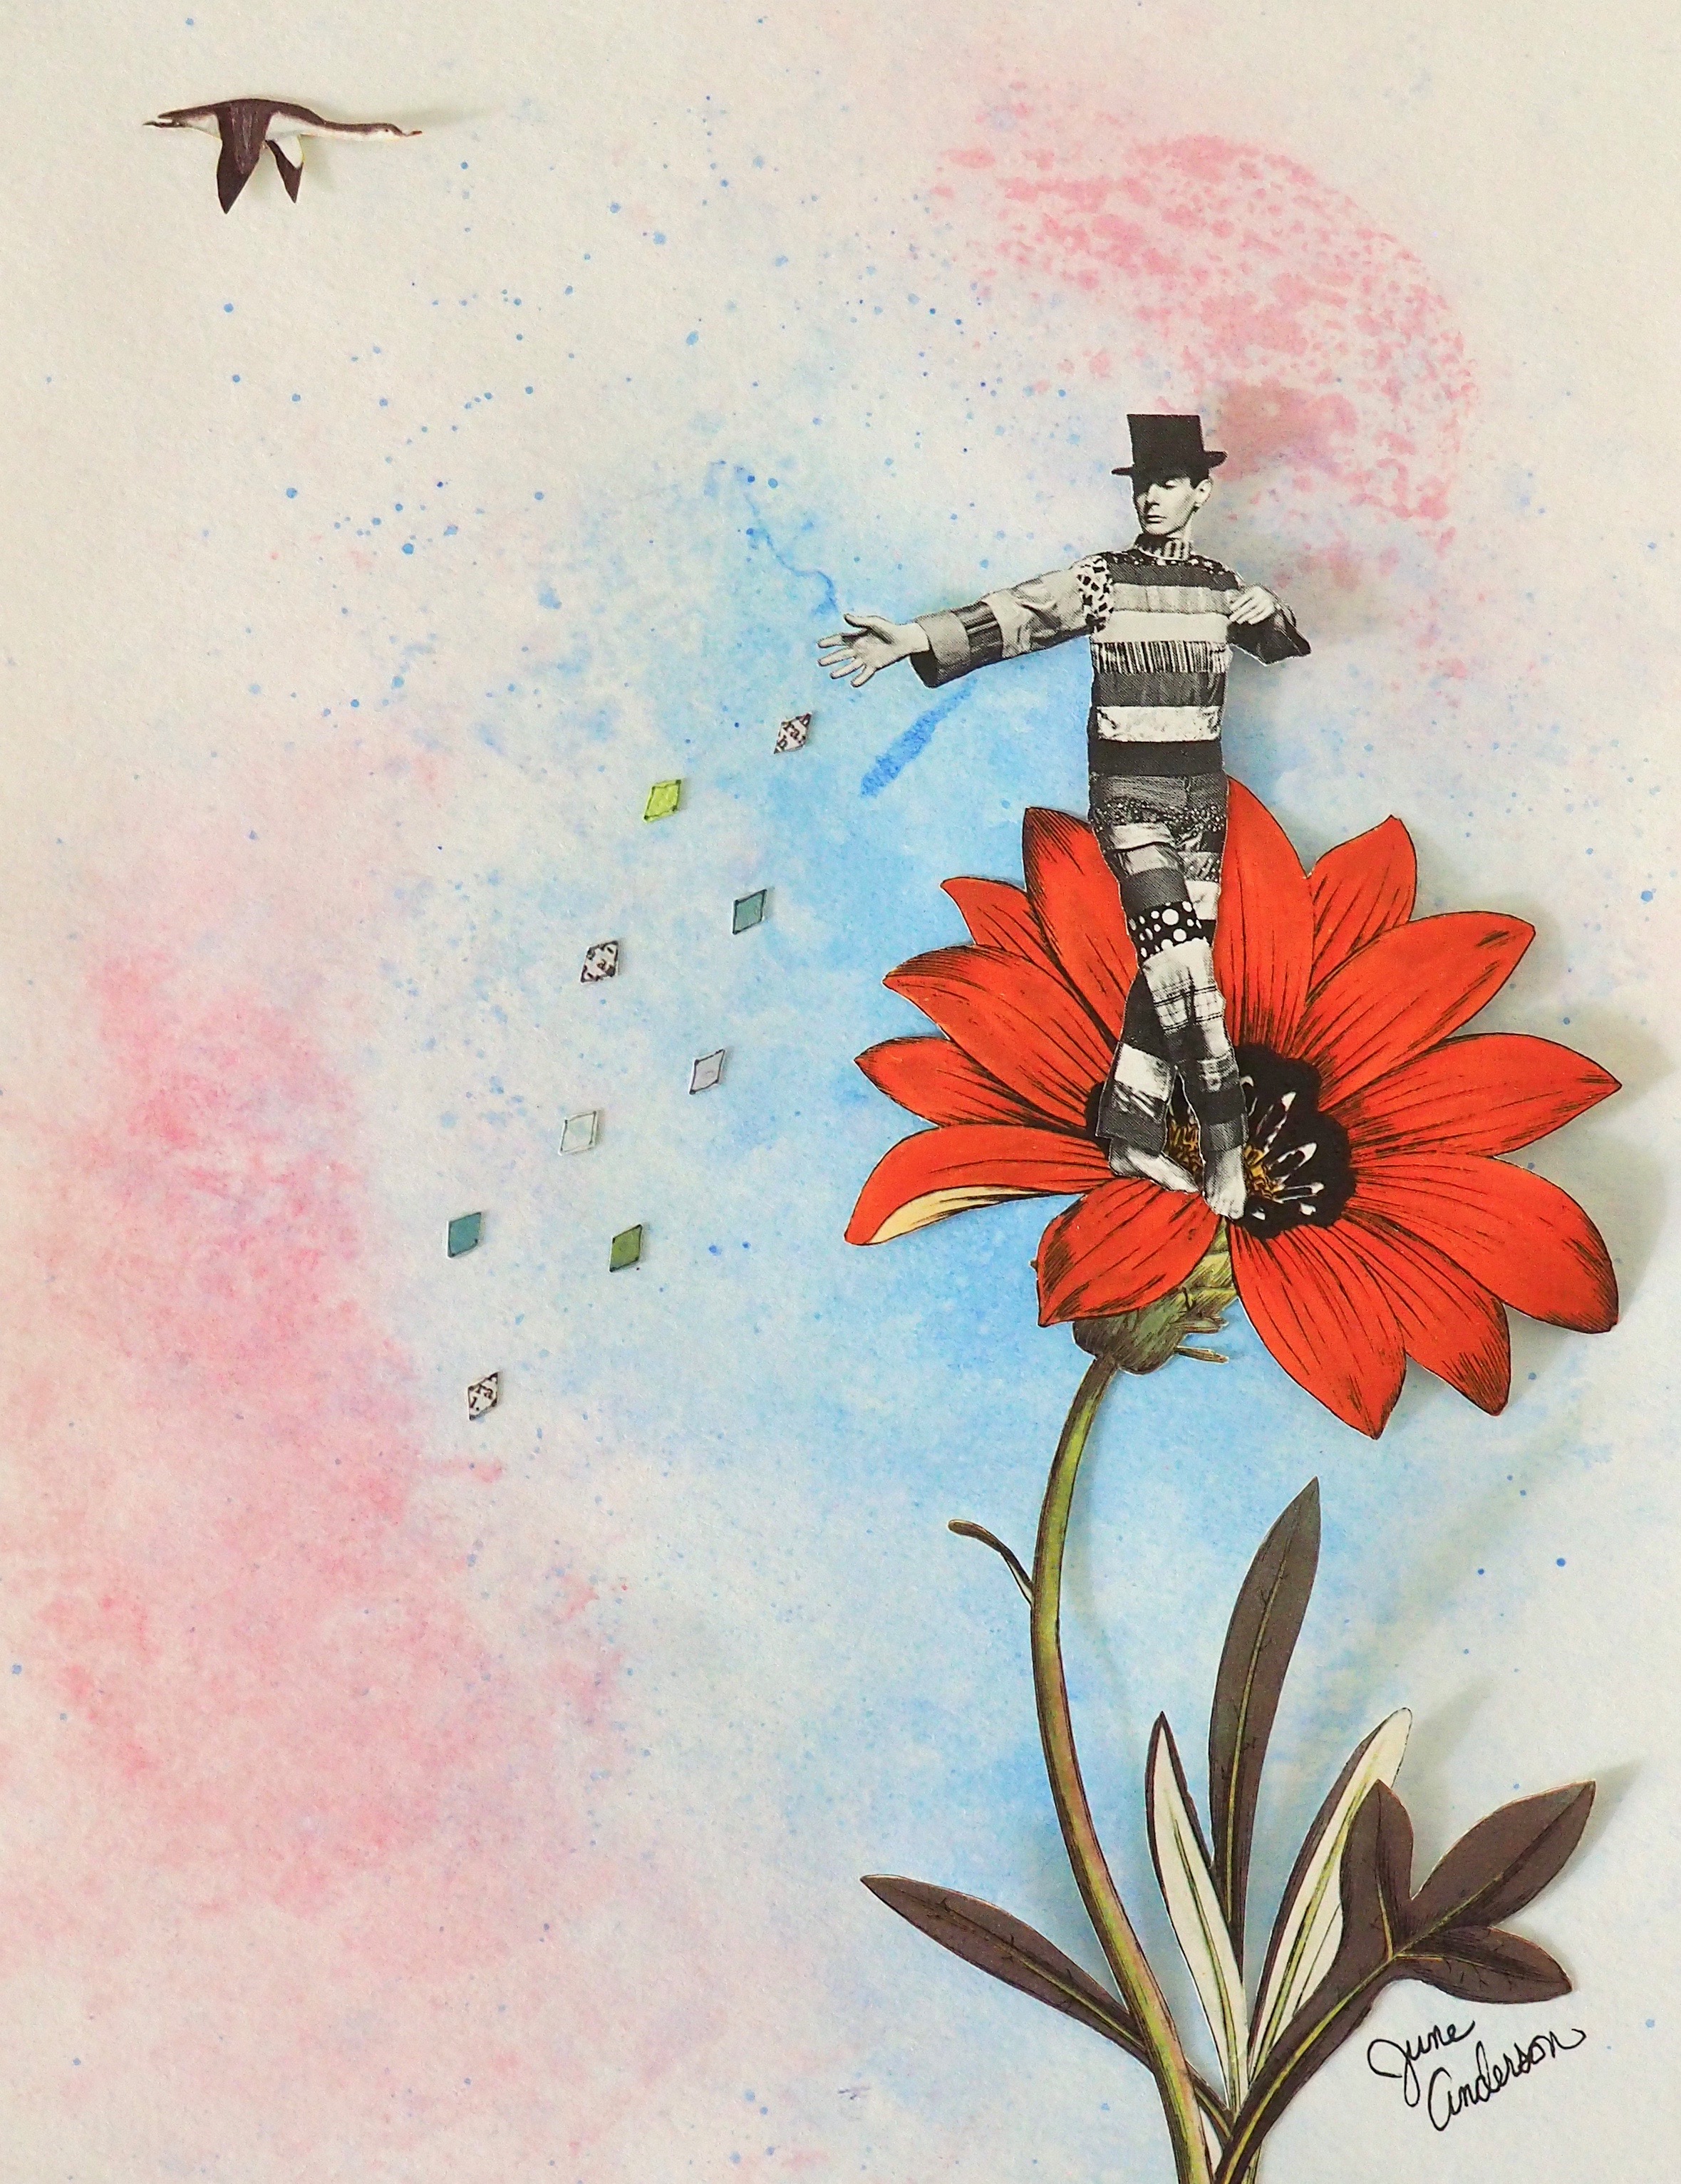
I've been working on creating painted abstract backgrounds to add more color and interest to my compositions. I'm also challenging myself to be more selective in my gluing process so as to allow more dimension. I'm using just enough raised foam adhesive to glue the pieces down yet allow for some shadow effect. If you look to the right of each of the elements above you can see this happening.

With Covid restrictions easing up, Jimmy and I were excited to read that the public library was bringing back their annual Library Book Sale. He likes to read mystery authors such as H.C. Bailey and I enjoy looking for 'collage fodder' so we donned our masks, headed to the sale, and had fun getting lost in the world of books.

One book in particular that I was excited to find was Anthology of Dance. It's from the 1970s and is a compendium of the modern dance movement from that time. I had been waiting to find a vintage book on modern dance, so this book, with its somewhat grainy black and white photographs was perfect!

As I flipped through the book, this image of James Waring (1922-1975) caught my attention immediately. At first he reminded me of Sherlock Holmes with his dark hair and top hat. But I was also enamored with his dance outfit and pose. And when I read the short paragraph accompanying his photo and learned that he was not only a dancer, choreographer and teacher but also dabbled in collage, my interest was kindled! The book also mentioned that in both dance and collage he was influenced by, prioritized and embraced experimentalism.

I love the challenge of creating atmosphere in collage (another reason for adding paint), and I will often add birds in flight as part of that idea. There is something about a grand landscape where, as one takes in the stillness of an expansive panoramic view, the sight of birds flying across the sky seems to slow the passing of time and allows the space within ourselves to expand. Some might call it Buddha-nature.

In that spirit, I thought it would be fun to place Waring in a time and place where he is in the process of, well, it could be collage... but it might be dance.

His outstretched arm led me to think how that gesture could be a part of the story and I also considered how experimentalism, like Dada and Merz, challenge the viewer's perceptions about what art is. In particular Waring's choreography is considered 'collage-like' in its experimentation and unexpected juxtapositions. So why not place him within a fanciful atmosphere, casting his cards, and relying on the serendipitious landing of the cards to tell him what the next dance steps will be? Or perhaps his intention is to create a collage, based on chance, wherein he will paste the cards in the exact arrangement they will fall in. Either way, the viewer is a witness to Waring's expressive pose and his creativity in that moment, slowed by the sight of a migrating bird...

SHARE:

Monday, May 23, 2022

DIY: Handmade Greeting Cards

Hello Friends! It's been so long since I've given my blog some love. Life since Covid has felt heavy and since my mom passed away last November my momentum to pick up the pieces has been slow...

I'm here today to share with you three greeting cards that I made recently using my new Sizzix manual die cut machine. It's so easy to get a perfect clean cut every time and the detail is amazing.

All of the papers shown here are from the new Bo Bunny Beautiful Things 6 x 8 paper pad. This size is perfect for card making because the images are scaled down and there is minimum waste. The bits of paper that are leftover can be used for die cutting the small die shapes which is fun if you are a 'mix and match' kind of crafter!

Each of the cards are made using a standard A6 size card blank from Tonic Studios.

As well, all three cards utilize the Sizzix Window Box stamps and die set by Olivia Rose, which I adore. 'Shaker box' type greeting cards are very popular right now and when I saw this particular set I knew I wanted to give it a try.

And finally, each of the three different sentiments are from the Elegant Sentiments stamps and die set from Waffle Flower Crafts.

For the background on the card to the left, above, I chose the Blooms paper (links are to the 12 x 12 sizes):

I stamped the scalloped circle using black pigment ink onto the B side of the Memorable paper and then die cut the shape. Both the stamp and die are part of the Sizzix Window Box set. I used one of the circle dies that came with my die cut machine to cut the background of the shaker box out of the Flutter paper. I also die cut a scalloped circle from a sheet of double sided foam adhesive from Scrapbook.com. And finally, I cut a circle shape (same size as the Flutter circle) from some leftover packaging material for the "window". Then it was a matter of layering these pieces together and adding the decorative sequins to create the shaker box. For this card I chose the Early Spring Premium Sequins from 28 Lilac Lane.

The next step was to stamp and die cut the floral bloom and die cut the six leafy embellishment pieces using the Sizzix Window Box set. The embellishment arrangements on all three cards are cut from the B side of the Blooms paper. This paper allowed me to create some very interesting variations in both color and gradations of color.

And lastly, I chose the 'Happy Birthday' sentiment from the aforementioned Elegant Sentiments stamps and die cut set, ink stamped it, and then die cut it from the B side of the Beauty paper.

The background of the middle card is made with the Fly Away paper:

Both the scalloped circle and the sentiment are stamped using black pigment ink and then die cut from the same B side of the Memorable paper as the previous card. The circle background inside the scalloped circle is plain white card stock. Again, I repeated the layering of the double sided foam adhesive, and a die cut circle from product packaging for the window. The floral bloom and leafy embellishments (from the Sizzix Window Box set) are also die cut from the same B side of the Blooms paper as the previous card.

For the shaker 'ingredients' I mixed Early Spring and Rose in Flight Premium Sequins from 28 Lilac Lane. For additional interest I glued two of the Rose in Flight butterflies to the background.

I chose the 'Thinking of You' sentiment from the previously mentioned Elegant Sentiments set.

The card on the right is made with the Dotted paper:

Again, I used the Waffle Flower Elegant Sentiments stamps and die set to stamp the 'Thank You' sentiment and die cut it and the scalloped circle (after ink stamping it as well) from the B side of the Beauty paper. The shaker box is layered with the double sided foam adhesive and some clear packaging, then filled with the same two sequin styles as the previous card. The Sizzix Window Box floral bloom and leafy embellishments are die cut, again, from the Blooms paper after having ink stamped the floral bloom.

And that's it! If you have any questions about the products used or my process, please reach out.

I had so much fun creating these cards. In fact, I made each card for a cousin and two of them will be posted today. I can't wait for the two cousins to receive their handmade cards. It's especially sentimental because I have not seen either of them since childhood and with my mother's passing we have come into contact and I want to keep in touch.

Speaking of keeping in touch, I have plans for a few more blog posts, so wish me luck!

And, as my mother would always say, bye for now... 

SHARE:
© Under The Plum Blossom Tree | All rights reserved.
Blogger Template Created by pipdig