Saturday, October 31, 2015

Styling The Seasons - October

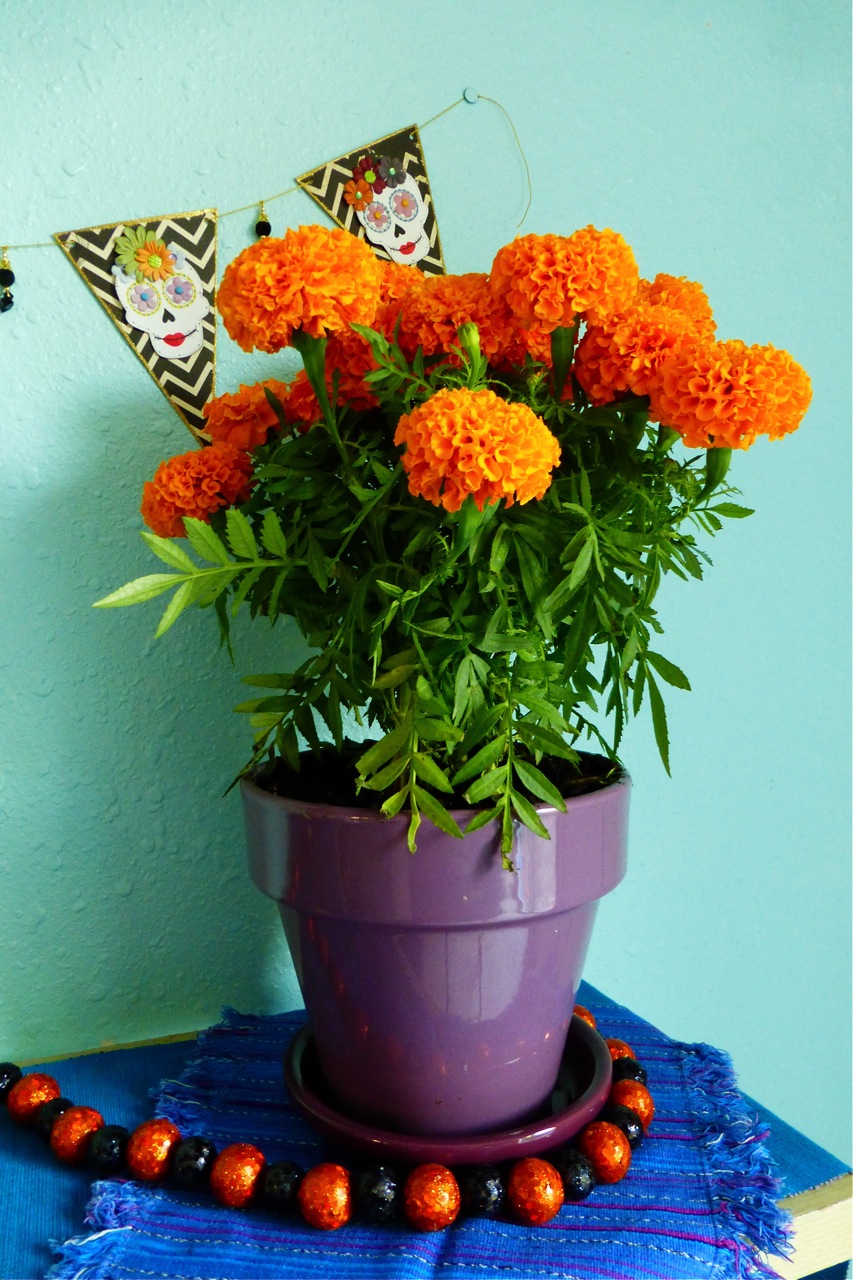
Bazzil cardstock, Bo Bunny Licorice Chevron paper, Micron pen by Sakura, Zig marker, Prima flowers, Prima velvet trinkets, Tombow adhesive, American Tag brads, Queen and Company Deco Dots, The Paper Company jewels, Glue Dots International, Hirschberg Schutz and Company Inc gold elastic cord, Trader Joe's potted marigold, E.O. Brody Company footed fruit bowl, vintage fruit bowl, green glass vintage fruit bowl, Danish cast iron candle holder, Danish cast iron candlestick holder, Swan brand match box, Swan matches, Swan matchsticks

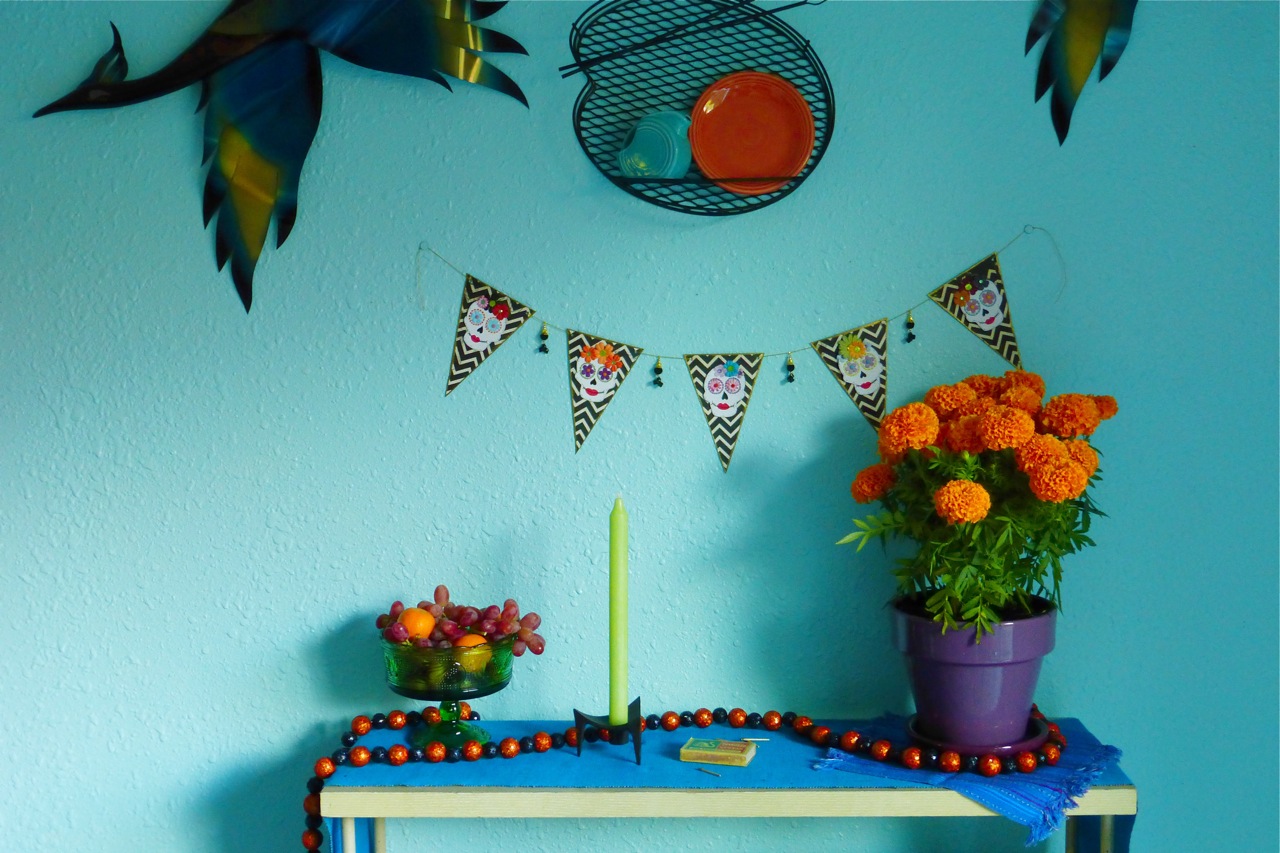
Serendipity, or the accidental discovery of something which you were not in quest of, perfectly describes my October Styling The Seasons display. It all started last weekend when, inspired by the seasonal change that has finally taken hold in my town, I went to the grocers to get some stems of mini pumpkins, and use them as a springboard to style a surface in my home. But much to my surprise, I saw potted marigolds displayed on some hay bales, and was immediately drawn to them. I looked at the tag and it said "Hay mas tiempe que vida", or "There is more time than life."
Bazzil cardstock, Bo Bunny Licorice Chevron paper, Micron pen Sakura, Zig marker, Prima flowers, Prima velvet trinkets, Towbow adhesive, American Tag Company brads, Queen and Company Deco Dots, The Paper Company jewels, Glue Dots International, Hirschberg Schutz and Company Inc gold elastic cord, Trader Joe's potted marigold

You may have heard of Dia de los Muertos, or the 'Day Of The Dead'; beginning on October 31st and ending on November 1st, this holiday honors those that have passed on. It originated in Mexico, but is celebrated throughout Latin America, and there are similar celebrations in Europe, Asia, and Africa, all of which take place during autumn. In my own family, we have joined the late summertime festivities of the Buddhist Obon festival, which also honors past ancestors, for almost twenty years now.
Bazzil cardstock, Bo Bunny Licorice Chevron paper, Micron pen Sakura, Zig marker, Prima flowers, Prima velvet trinkets, Tombow adhesive, American Tag Company brads, Queen and Company Deco Dots, The Paper Company jewels, Glue Dots International, Hirschberg Schutz and Company Inc gold elastic cord, Trader Joe's potted marigolds

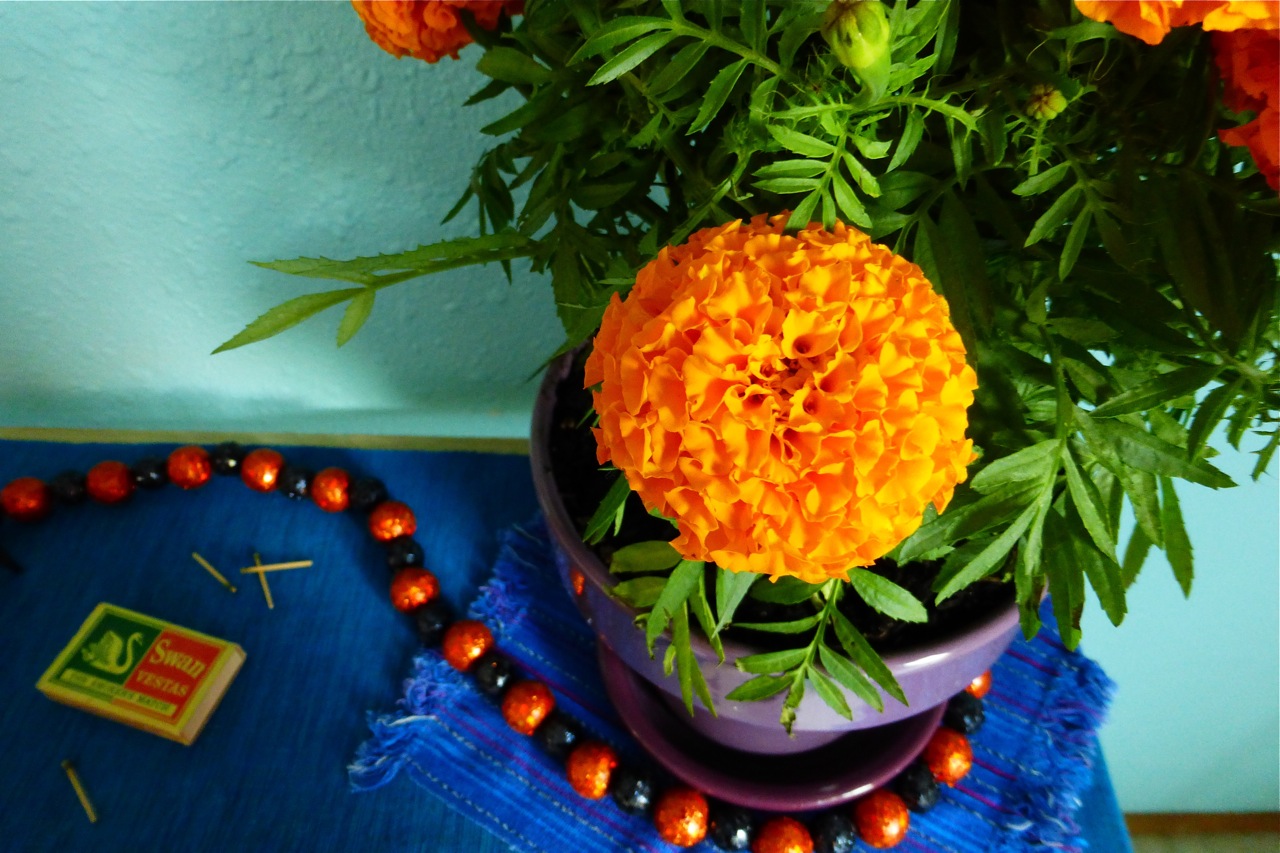
Marigolds, or Tagetes erecta, are native to Mexico and Central America and are referred to as the Flower With 400 Lives, or Flower Of The Dead (Flor de Muerto). They are used during The Day Of The Dead as decorations for ofrendas (graves or alters). The adornments also include foods such as candied pumpkin, pan de muerto (a kind of bread), sugar skulls, candles, photographs, and personal mementos of the person being remembered. As well as being decorative, marigolds are thought to attract the souls of the dead to these offerings.
Trader Joe's potted marigold, Swan Vestas The Smokers Match, Swan Vestas matchsticks

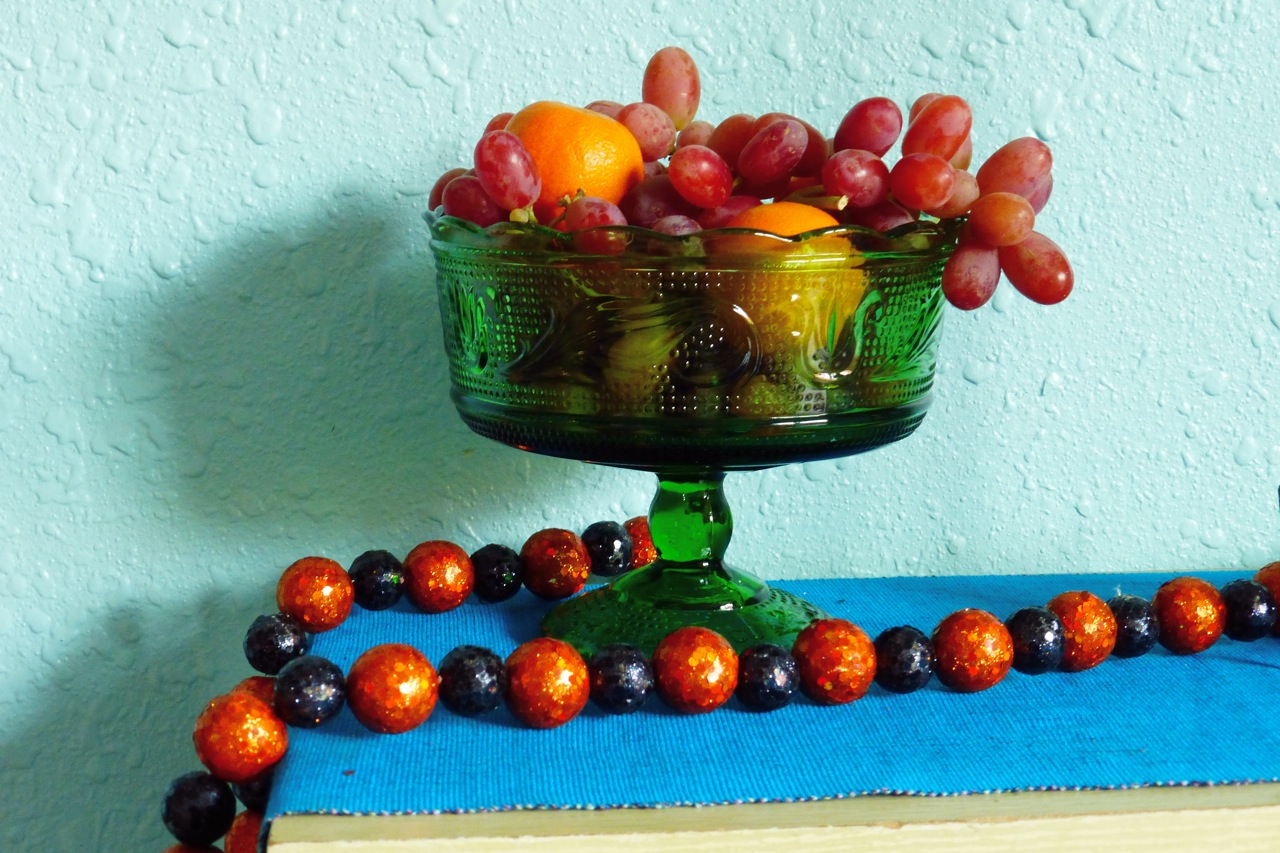
Here in the United States, as in many other countries, All Hallows' Eve, or Halloween, is celebrated on October 31st. Our family has always celebrated this holiday - my kids love to dress up and I enjoy putting up some lights and a few decorations. This year is no different - the lights and decorations have once again found their traditional places in and around our home, but this year, I've also added my own version of an ofrenda. I used Pinterest to create a board of ideas to help me decide how I would like to design my own ofrenda. Building on the idea of honoring the dead, and in addition to my beautiful potted marigolds, I added a vintage footed pedestal bowl that I filled with fruit:
E.O. Brody Company M6000 Cleveland Ohio USA, E.O. Brody Company green glass footed bowl, vintage E.O. Brody Company footed bowl, vintage fruit bowl

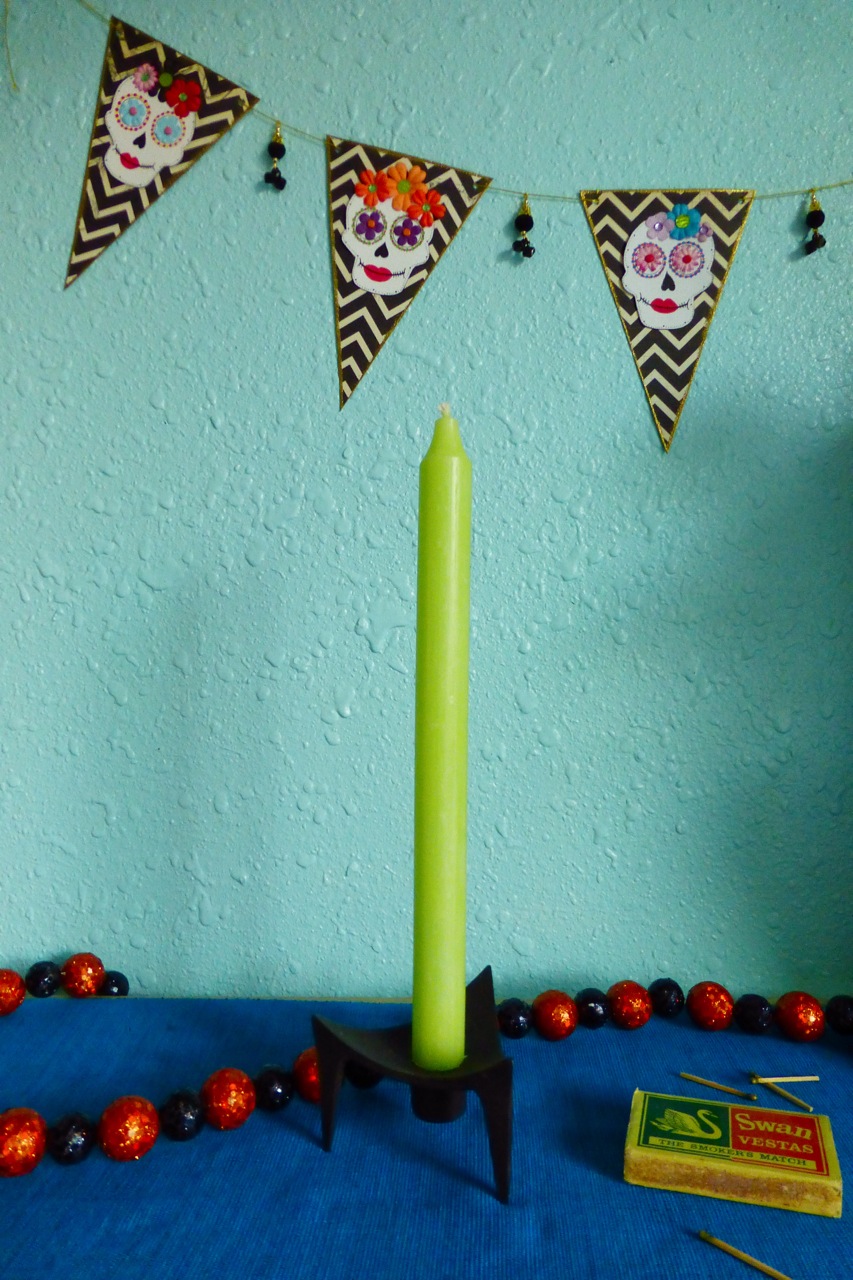
And placed a candle in a vintage 1950s black cast iron Danish candle holder:
Danish candle holder, Danish cast iron candle holder, Danish cast iron black candlestick holder, vintage Danish candle holder, Bazzil cardstock, Bo Bunny Licorice Chevron paper, Micron pen Sakura, Zig marker, Prima flowers, Prima velvet trinkets, Tombow adhesive, American Tag Company brads, Queen and Company Deco Dots, The Paper Company jewels, Glue Dots International, Hirschberg Schutz and Company Inc gold elastic cord, Swan Vestas matchbox, Swan Vestas The Smokers Match, vintage Swan Vestas matchbox

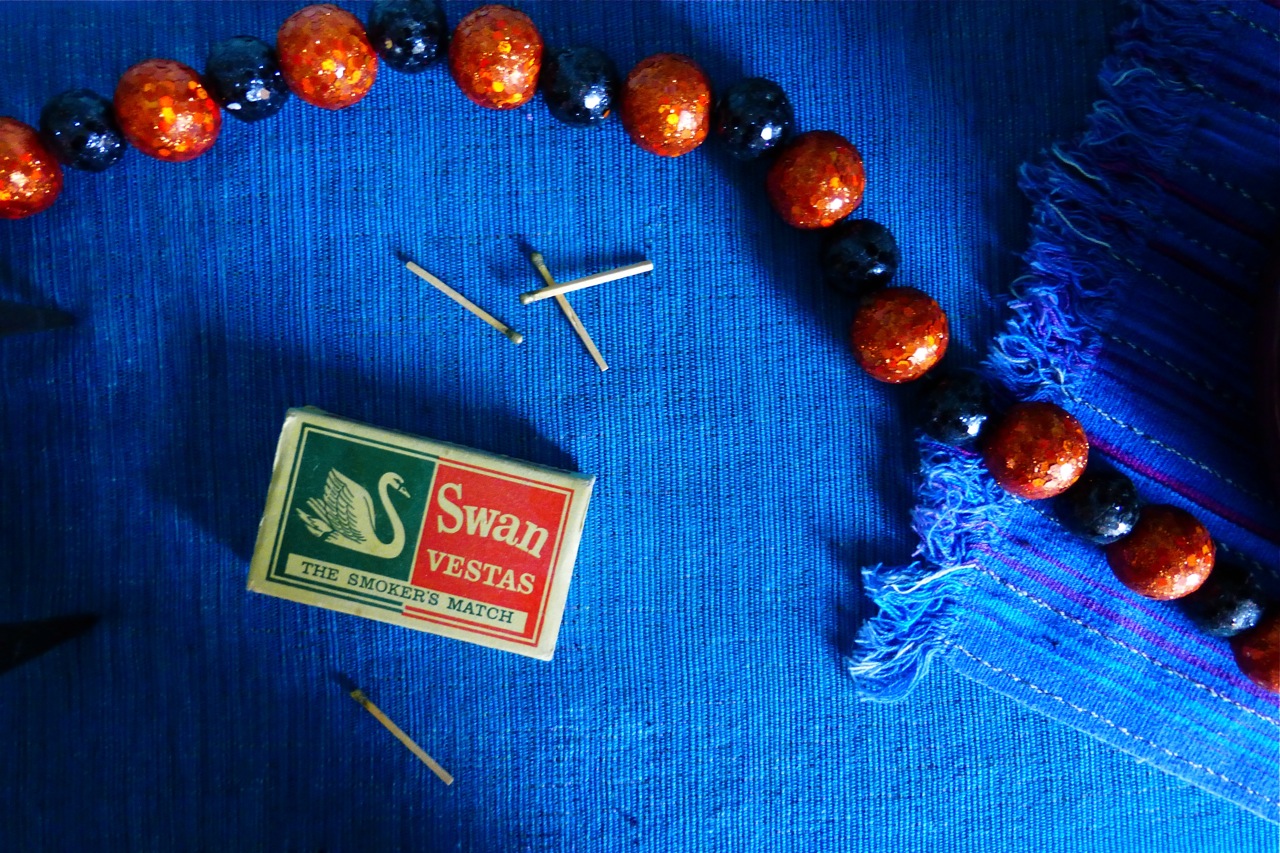
An old box of matches is at the ready - I think I'll light my candle tonight:
Swan Vestas The Smokers Match, Swan matchbox, Swan Vestas matchbox, vintage Swan Vestas matchbox

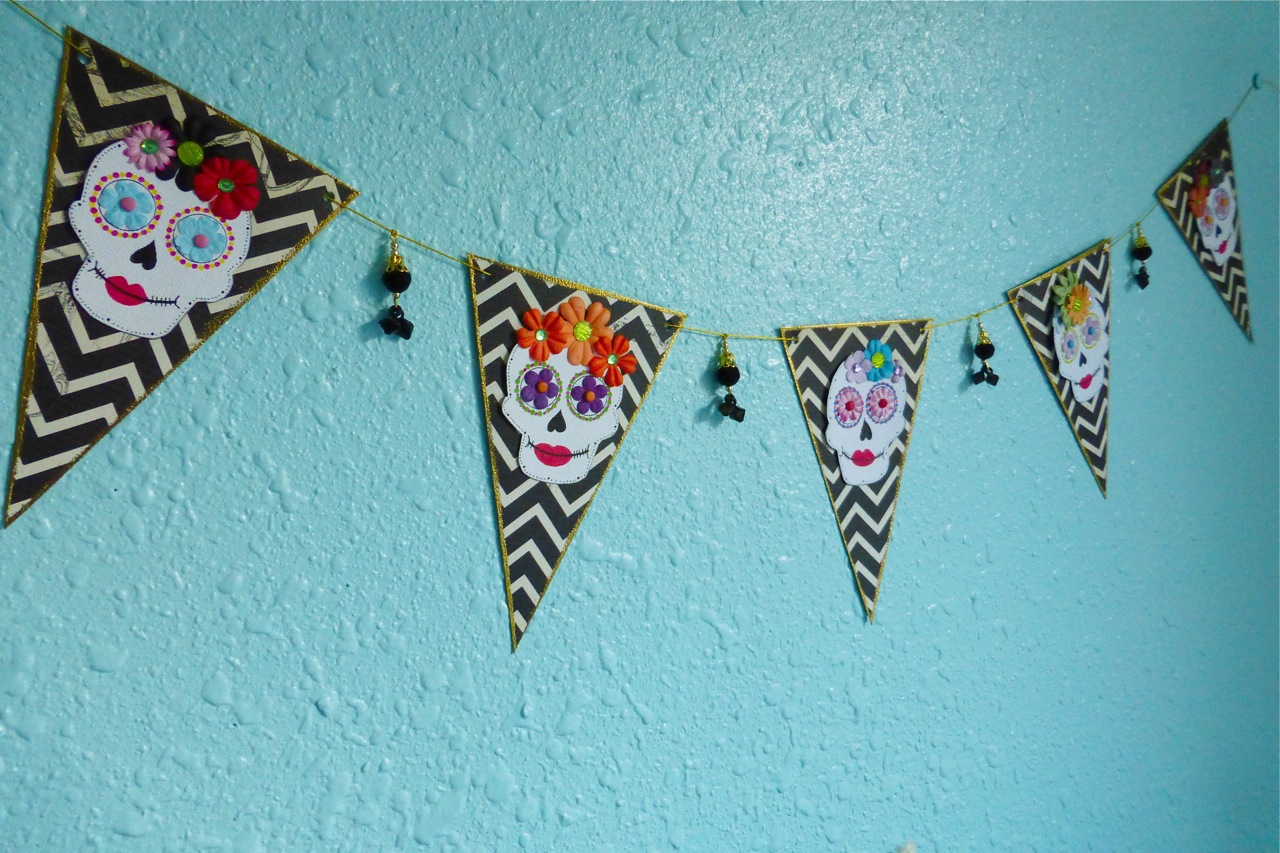
And because skulls are a large part of both Halloween and Day Of The Dead, I decided to make the banner hanging on the wall behind this display. I simply hand drew a skull shape on white cardstock and cut it out, then used it to trace four more skulls. I had fun pulling out my scrapbooking supplies, hand drawing the faces of the skulls, and decorating each one with flower headdresses:
Bazzil cardstock, Bo Bunny Licorice Chevron paper, Micron pen Sakura, Zig marker, Prima flowers, Prima velvet trinkets, Tombow adhesive, American Tag Company brads, Queen and Company Deco Dots, The Paper Company jewels, Glue Dots International, Hirschberg Schutz and Company Inc gold elastic cord,
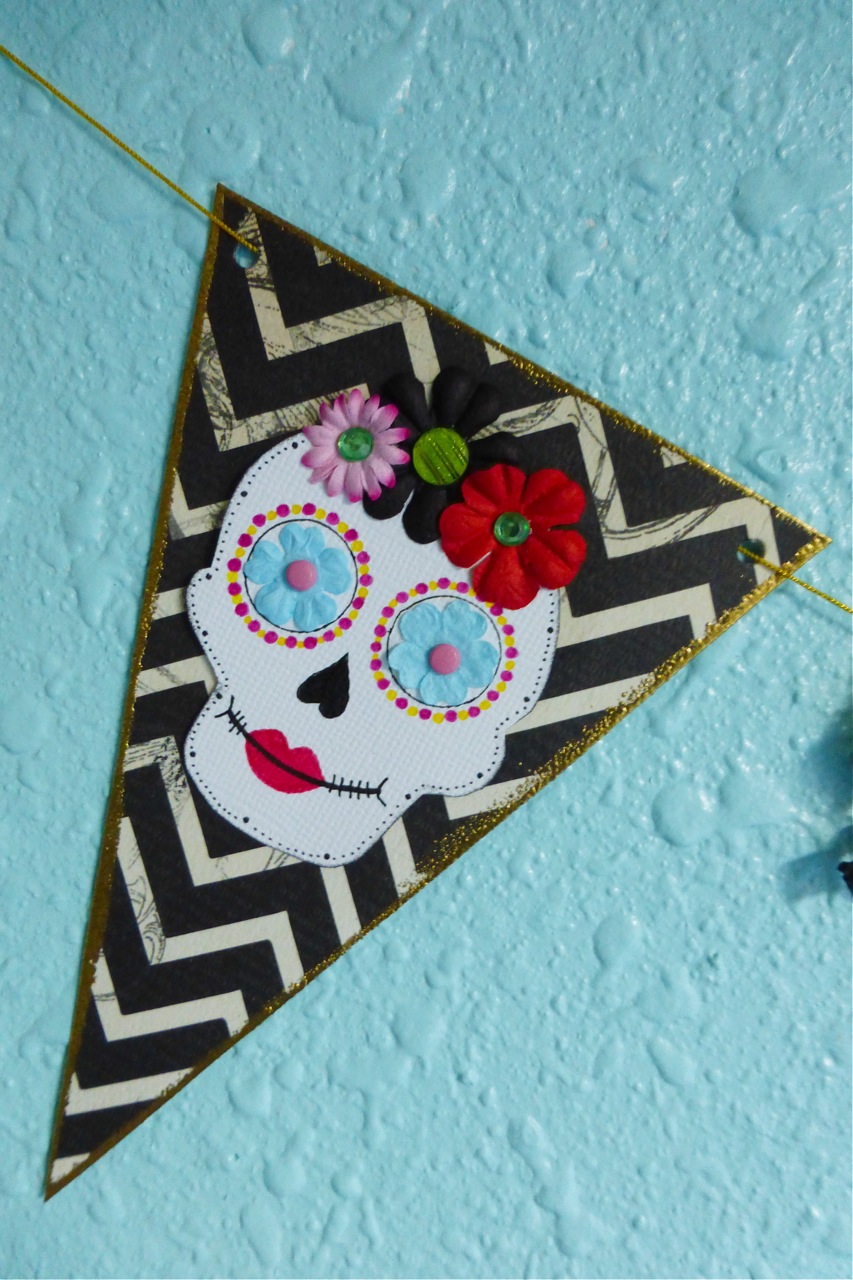
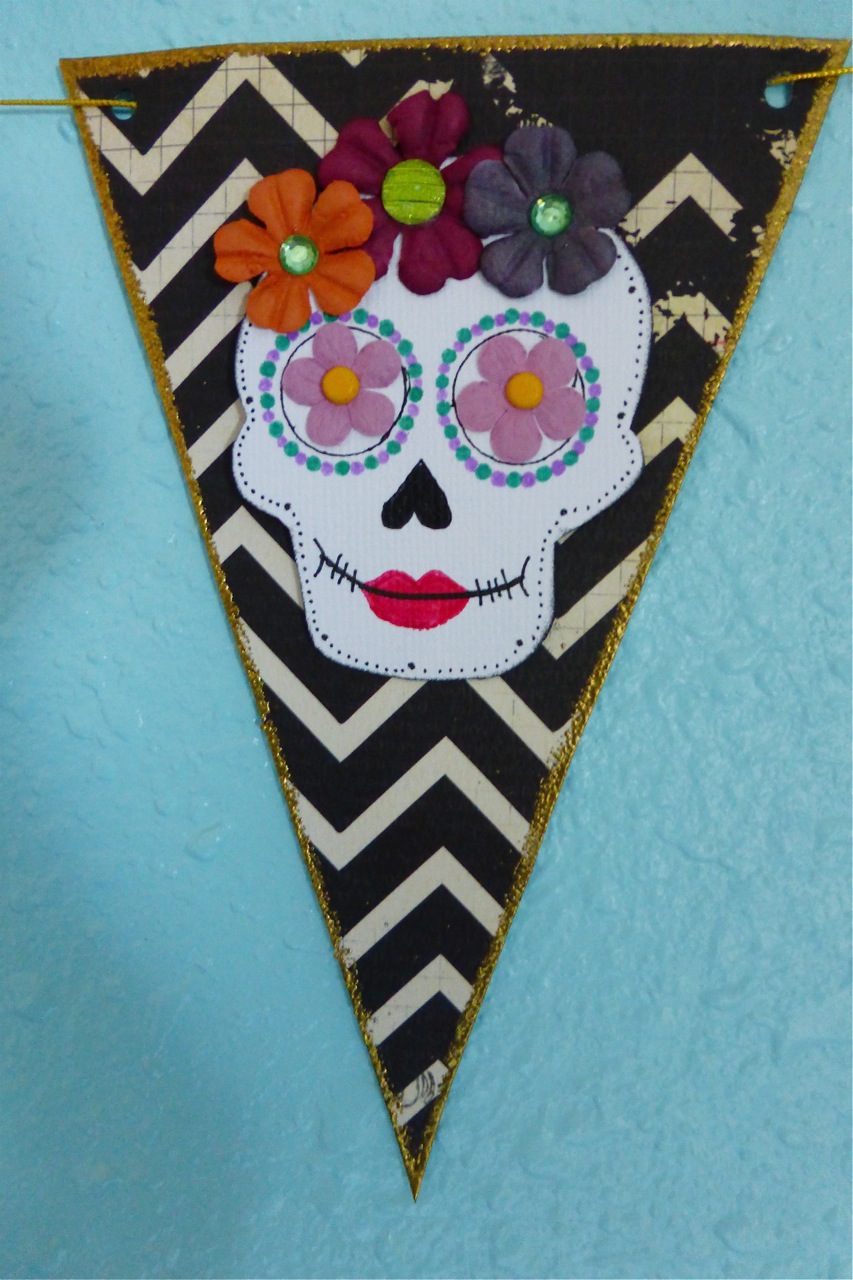
Here's a close up view of each paper skull:
Bazzil cardstock, Bo Bunny Licorice Chevron paper, Micron pen Sakura, Zig marker, Prima flowers, Prima velvet trinkets, Tombow adhesive, American Tag Company brads, Queen and Company Deco Dots, The Paper Company jewels, Glue Dots International, Hirschberg Schutz and Company Inc gold elastic cord,

October has unexpectedly opened up a new experience for me, of being inspired by fall flowers, and developing that inspiration into something special that my family and I can enjoy in our home.
Bazzil cardstock, Bo Bunny Licorice Chevron paper, Micron pen Sakura, Zig marker, Prima flowers, Prima velvet trinkets, Tombow adhesive, American Tag Company brads, Queen and Company Deco Dots, The Paper Company jewels, Glue Dots International, Hirschberg Schutz and Company Inc gold elastic cord, E.O. Brody Company M6000 Cleveland Ohio bowl, Trader Joe's potted marigolds, Danish cast iron candle holder,

What has the month of October meant for you?  

Styling The Seasons is a monthly opportunity to style a surface in your home and share it on your blog and/or on Instagram.  If you would like to know about Styling The Seasons, visit Katy Orme's blog Apartment Apothecary or Charlotte's blog Lotts & lots.  You can also search for the hashtag #stylingtheseasons on Instagram.

Oh, and if you'd like to see the Dia de Los Muertos Pinterest board I created for this post, click here.  

Thanks for reading!

SHARE:

Monday, October 26, 2015

DIY: Autumn Floral Crown

DIY, Do It Yourself, Autumn Floral Crown, Floral Crown, head wreath, Trader Joe's bouquet, Trader Joe's seasonal bouquet, floral crown made with Trader Joe's flowers

The golden days of autumn are here in the Willamette Valley of Oregon. Summer has taken its time leaving, giving us chilly mornings, warm sunny days, and making all the colors of autumn a more joyous experience with glorious sunlight shining through the changing leaves.  

And with those colorful changes my mind has turned to fun ways in which to celebrate the season, and flowers, of course, are the perfect way to do that. I recently picked up a fall bouquet at a local market and was inspired by the seasonal color palette to create an autumn floral crown. The mix of colors in the bouquet reminded me of all the hues I see in the changing leaves - yellow, orange, pink and red, with green hanging in there for as long as it can.    

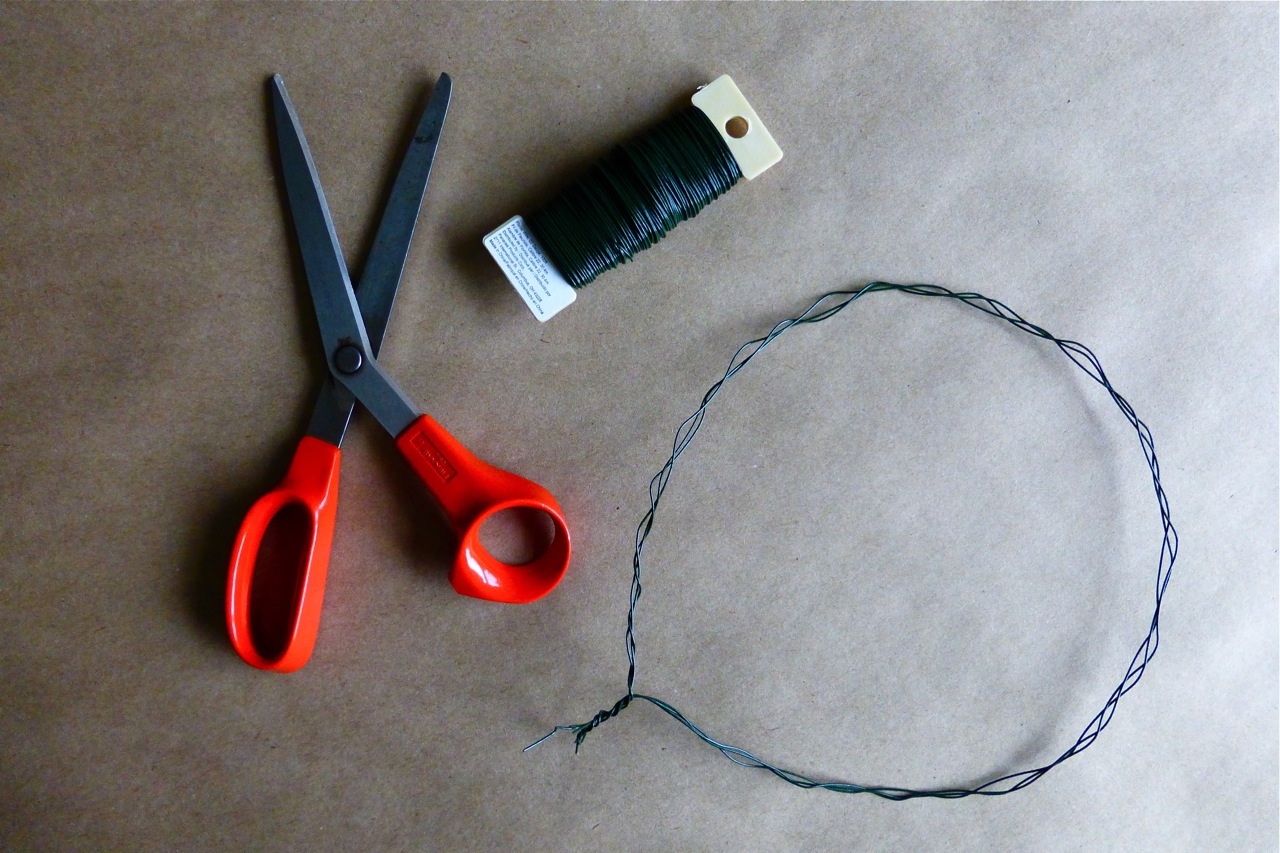
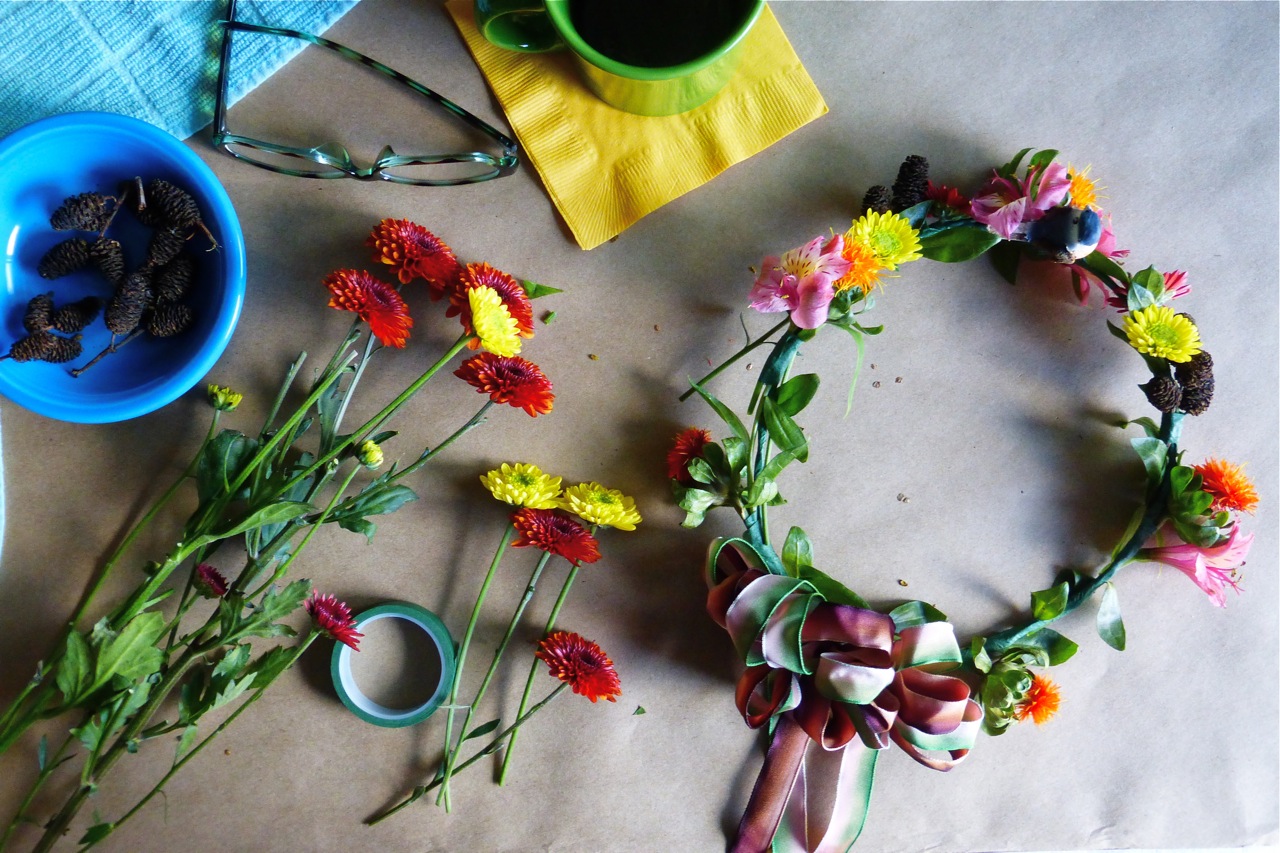
This simple yet colorful crown can be made with just a few supplies: floral wire, floral tape, some junky scissors, and of course flowers. Along with the flowers in the bouquet, I already had on hand a bow and some little birds, left over from a silk flower crown I had made a couple years ago. I also happened to gather some alder seed cones when I was out walking with my daughter recently, and decided to use those as well.
DIY, Do It Yourself, Autumn Floral Crown, Plum Blossom Autumn Floral Crown, floral crown, head wreath, supplies for flower crown

The first step is to create the shape of the crown with the floral wire. This is as easy as pulling out enough wire from the spool, and then wrapping it around your head and adding about 1-2 inches to that measurement. Cut the wire. Repeat this two more times until you have three strands. Twist the strands together, and make a circle with them, twisting all six ends together, like so:
supplies for floral crown, DIY, Do It Yourself, Autumn Floral Crown, floral crown, head wreath, Plum Blossom Autumn Floral Crown

Wrap all six strands into the circle you've made. This will be the back of the crown. Now it's time to wrap the entire crown with floral tape - here's mine in the process:
supplies for floral crown, DIY, Do It Yourself, Autumn Floral Crown, floral crown, Plum Blossom Floral Crown, head wreath

Since I wanted my crown to be symmetrical, I started in the front with the two pink flowers you see here:
DIY Autumn Floral Crown, DIY, Do It Yourself, floral crown, flower crown, Plum Blossom Autumn Floral Crown, head wreath

Now it's time to fill the rest of the crown with flowers. If you'll notice, I next used some small bright orange pompoms because its leaves run for the full length of the stem, and make a perfect foundation to develop the crown from:
DIY, Do It Yourself, DIY Autumn Floral Crown, floral crown, flower crown, Plum Blossom Autumn Floral Crown, head wreath

At this point, I added the bow at the back of the crown, and placed one of the birds at the front where the two pink flowers are. Then, I continued wrapping the orange pompom flowers around the crown:
DIY, Do It Yourself, DIY Autumn Floral Crown, Plum Blossom Autumn Floral Crown, floral crown, flower crown, head wreath

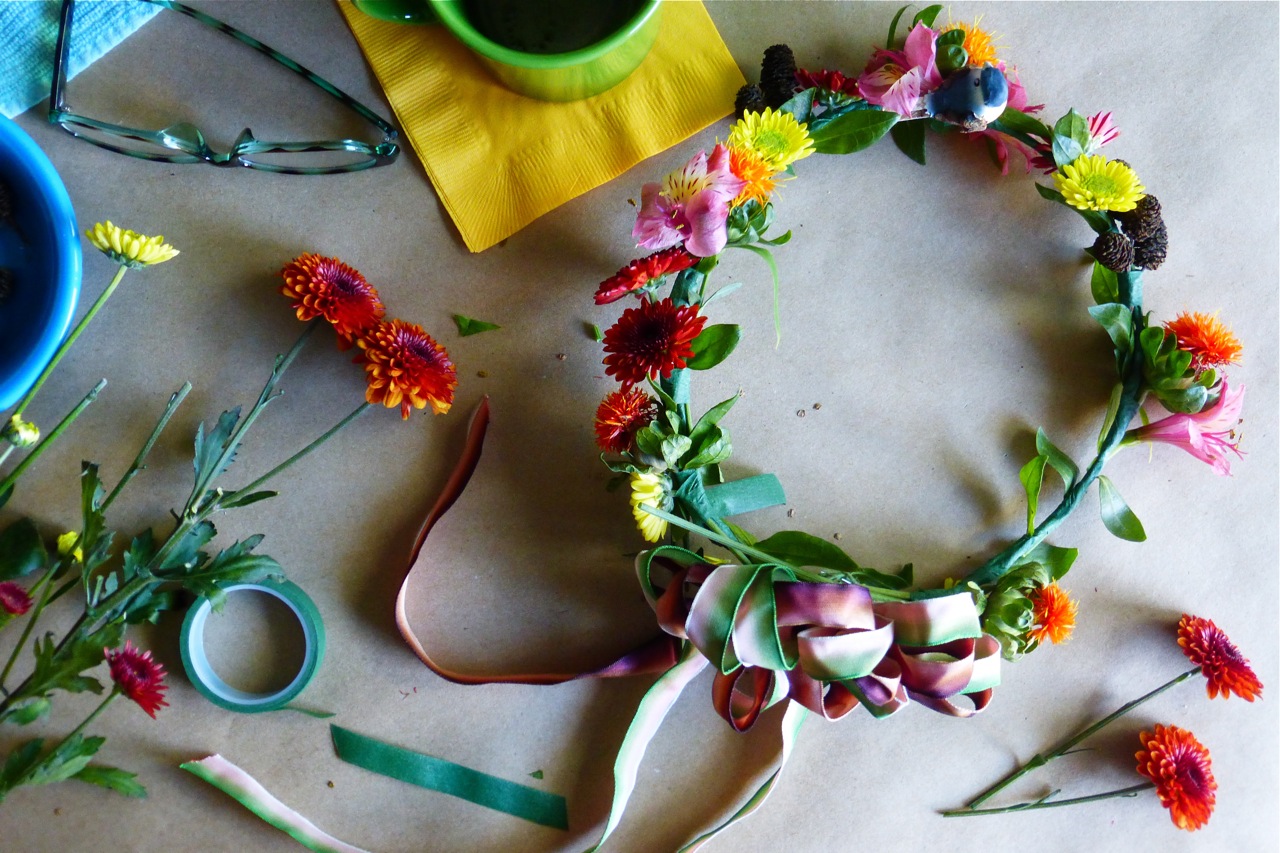
Once all the pompom flowers were in place, I began adding in the yellow flowers and used two bunches of the alder seed cones - one on each side near the front:
DIY, Do It Yourself, Autumn Floral Crown, Plum Blossom Autumn Floral Crown, head wreath, floral crown, flower crown

Next, I added in the red-orange flowers and two more yellow flowers towards the back of the crown:
DIY, Do It Yourself, Do It Yourself Autumn Floral Crown, Autumn Floral Crown, floral crown, flower crown, head wreath

And here is the finished crown:
DIY, Do It Yourself, DIY Autumn Floral Crown, Plum Blossom Autumn Floral Crown, floral crown, flower crown, head wreath

And the last step is to wear and enjoy your crown. Grab a friend or family member, and have some fun capturing some photos of you wearing your very own lovely Autumn Floral Crown!

SHARE:

Tuesday, October 13, 2015

DIY: Autumn Hydrangea Wreath

Do It Yourself, DIY, Hydrangea wreath, how to make a hydrangea wreath, make a hydrangea wreath

Hydrangea, also known as Hortensia, is a flowering shrub native to eastern Asia and the Americas. It is very easy to grow and produces large pom-pom flowers which bloom from spring through autumn. If you have hydrangeas in your garden, you may notice that the stems of the flowers are starting to dry at this time of the year. Now is a good time to take your cuttings and prepare them for this very easy autumn wreath.

First, gather your flowers. Cut long stems and place them in a container in which you've added just a few inches of water. Place your container in a cool shady spot:  

Hydrangea, hydrangea, hydrangea flowers
The idea here is to give them just enough water to keep them moist while the water slowly evaporates.  What happens is the flowers will dry but the petals will stay fresh looking.  My cut flowers sat in this watering can for about two weeks before I made my wreath.  

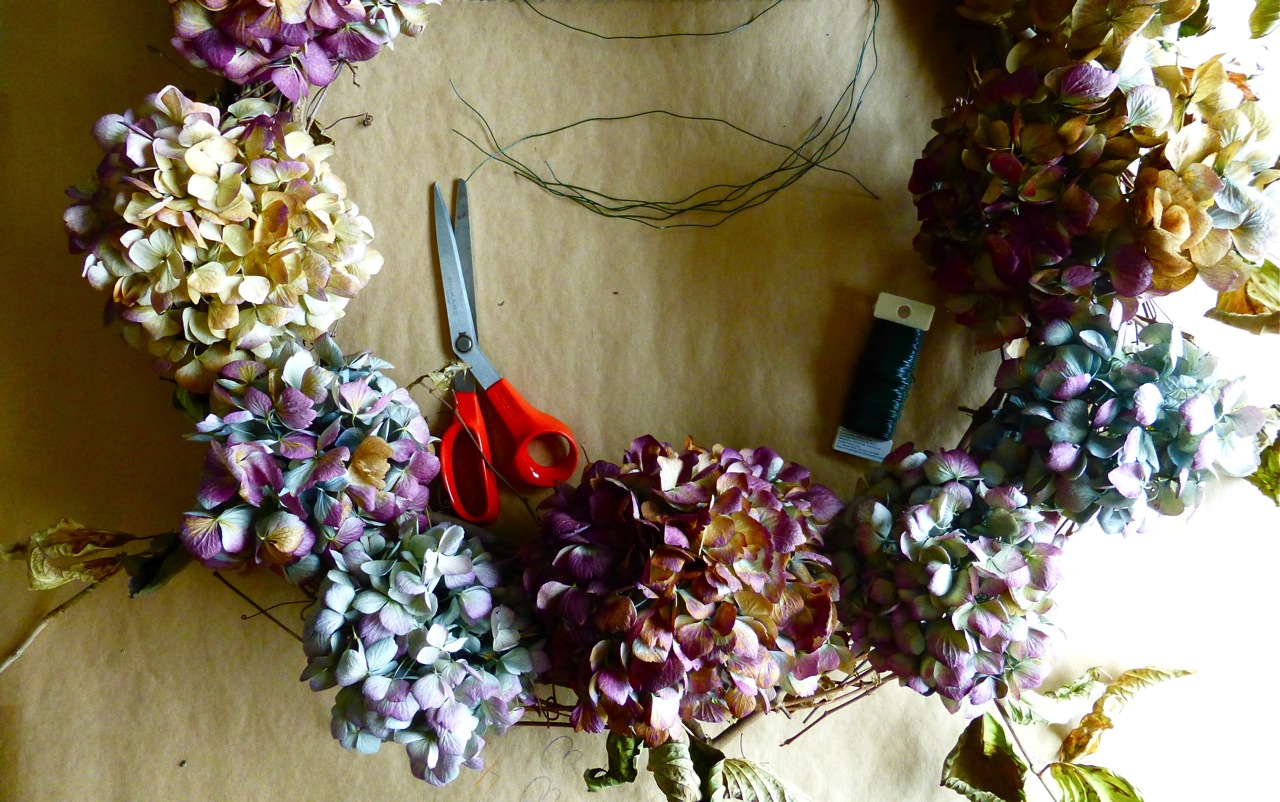
Once your flowers are dry, gather your supplies:  a wreath form of your choosing, some junky scissors, and some florist wire:

hydrangea wreath, Hydrangea wreath, supplies to make a hydrangea wreath, what do I need to make a hydrangea wreath

I purchased a grapevine wreath at a craft store, and it's about 22" in diameter.

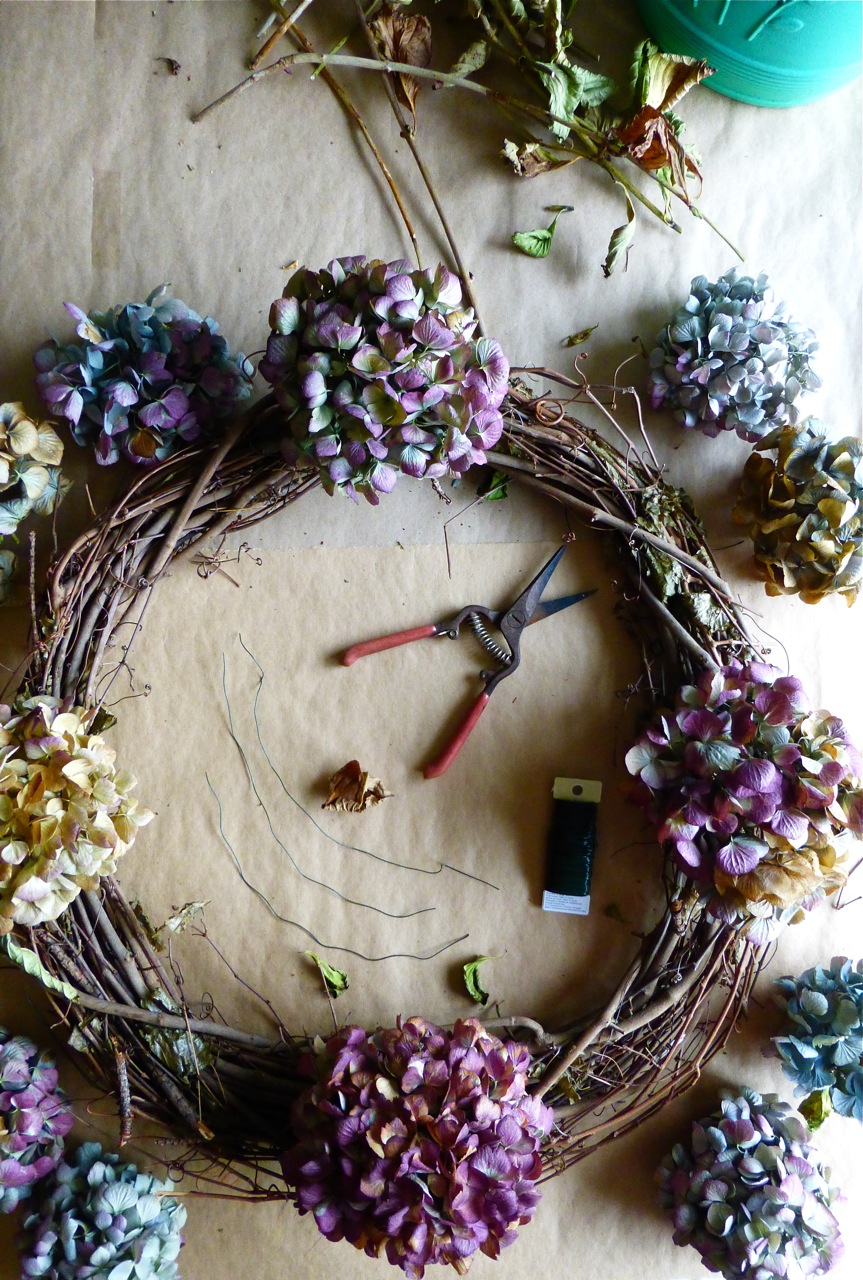
The next step is to start placing the flowers around the wreath form to get an idea of how many you need and decide on placement:

hydrangea wreath, do it yourself hydrangea wreath, how to make a hydrangea wreath, placement of flowers for a hydrangea wreath, dried hydrangea flowers

Once you know how many flowers you will be using, cut a length of wire for each flower head. I used 12 flower heads and cut my wire into about 8 inch lengths.  

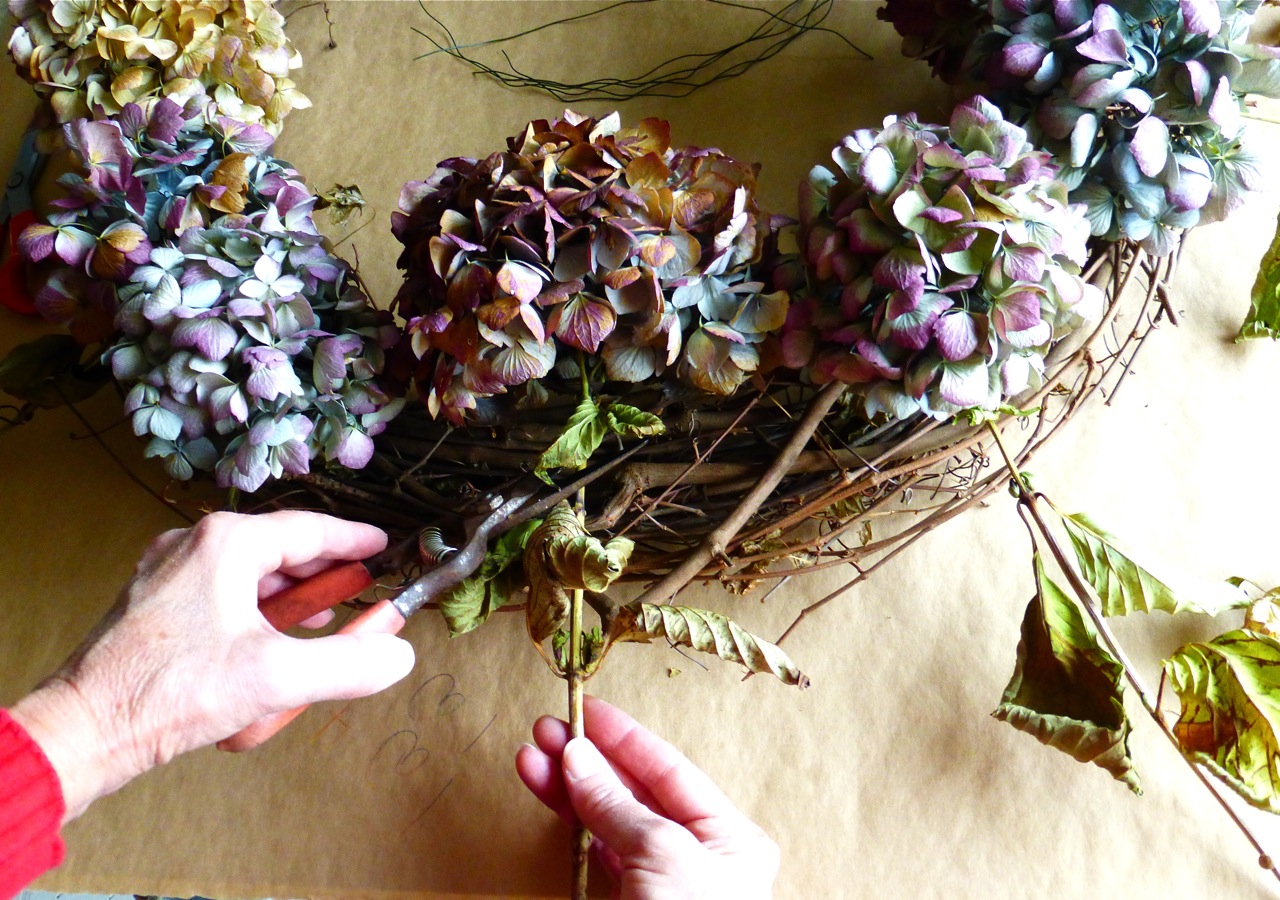
Next cut the stems from your flower heads, leaving about 2-3 inches:

hydrangea wreath, Hydrangea wreath, do it yourself hydrangea wreath, cutting hydrangea flowers for wreath, cutting hydrangea flower heads for wreath

I let the size of the flower heads dictate the placement on my wreath, putting the four largest flowers at the top, bottom, and sides, and then filling in the other areas of the wreath with the smaller flowers.  I also paid attention to color and weight balance with the remaining flowers.

hydrangea wreath, Hydrangea wreath, placement of flowers for hydrangea wreath, do it yourself hydrangea wreath

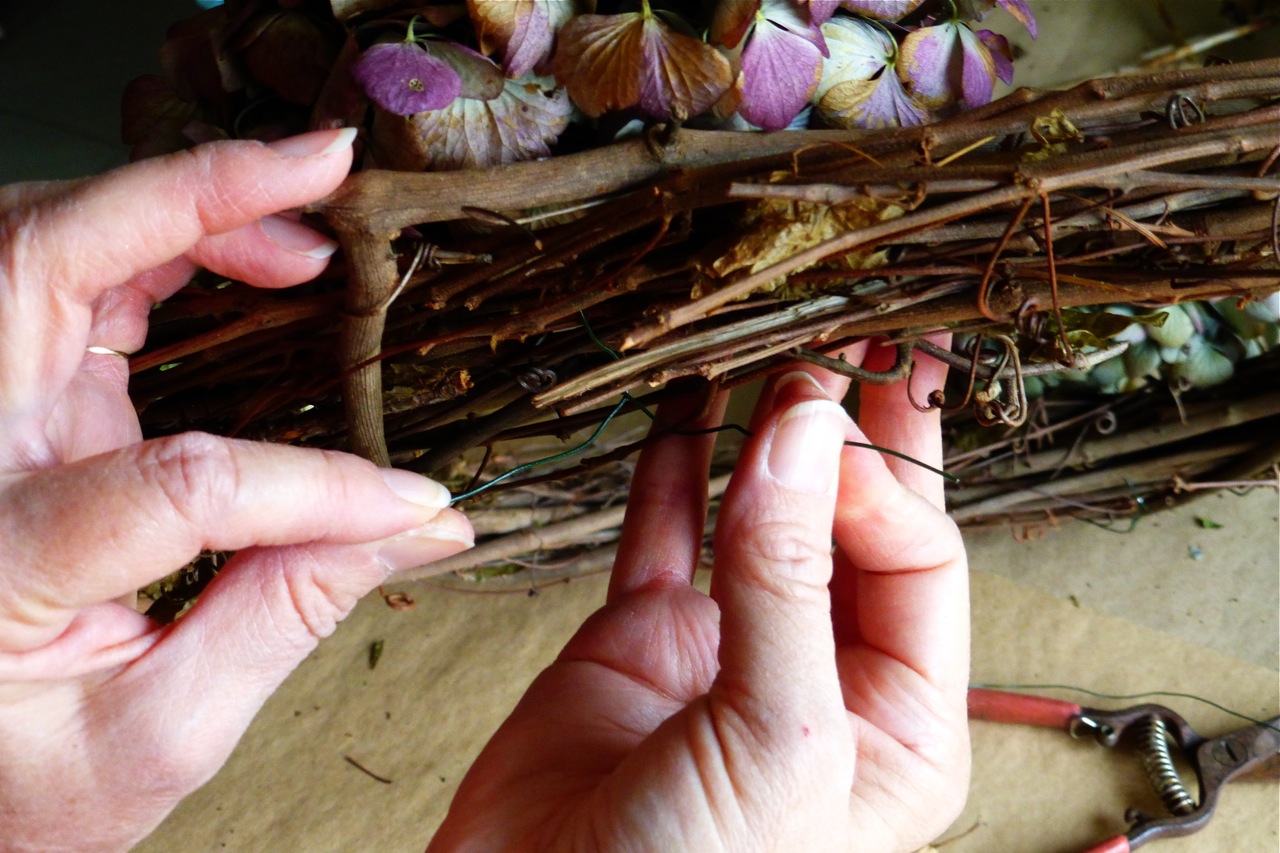
Now simply place a piece of wire through the dried stem of each flower like this:


hydrangea wreath, Hydrangea wreath, do it yourself hydrangea wreath, how to make a hydrangea wreath, placement of wire for hydrangea wreath

Then place the flower on top of the wreath and carefully lift the wreath and wrap the wire around it and twist it in the back to secure it onto the wreath:

securing hydrangea to wreath, how to make a hydrangea wreath, do it yourself hydrangea wreath

Do this until all your flowers are fastened to the wreath.  

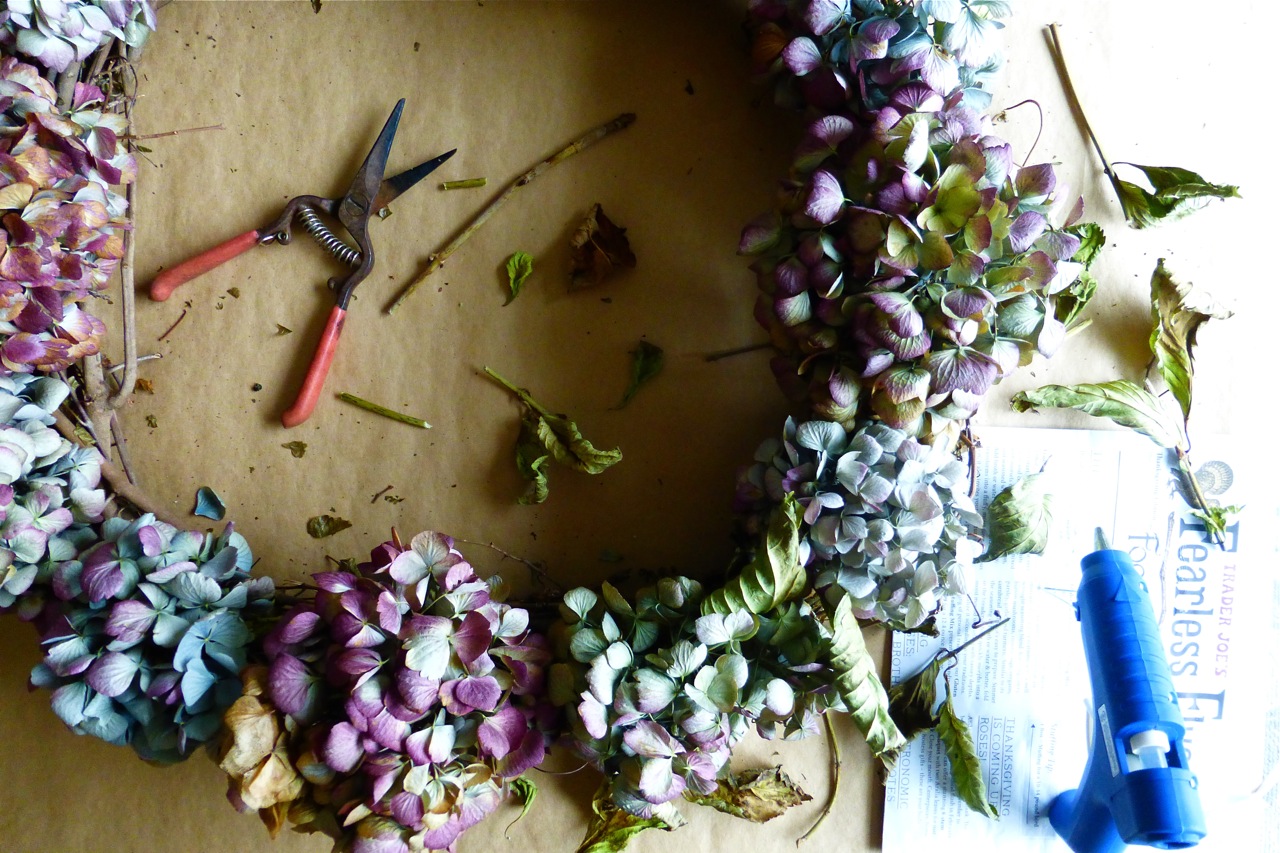
An afterthought I had was to use a hot glue gun and glue some of the dried leaves in various places around the wreath, tucking them here and there.

hydrangea wreath, Hydrangea wreath, glueing leaves onto a hydrangea wreath, how to make a hydrangea wreath, do it yourself hydrangea wreath

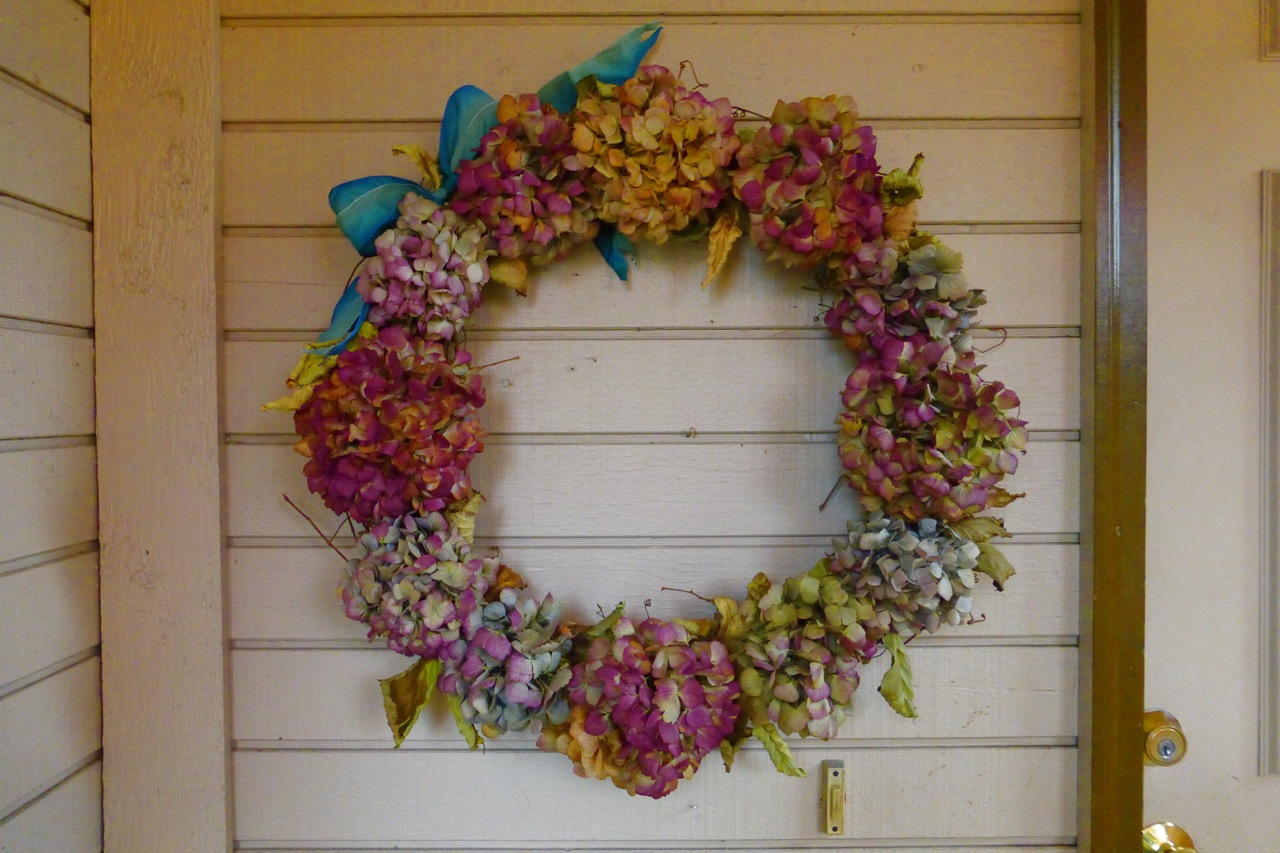
And now your wreath is ready to hang and enjoy!  I added a blue ribbon to mine.  I love blue!

hydrangea wreath, Hydrangea wreath, how to make a hydrangea wreath, do it yourself hydrangea wreath

I hung this wreath on my front porch, and over time the colors of the flowers will continue to fade.  So if you want your flowers to become 'antiqued' or 'shabby-chic' looking, that would be how to affect it.  I can say though, that if you want the colors to remain as they are, then keep your wreath inside and away from direct light.   

Do you enjoy wreath making?  What materials do you use?  

Thanks for reading!


SHARE:
© Under The Plum Blossom Tree | All rights reserved.
Blogger Template Created by pipdig